Part 1. How to Register and Update OBDSTAR OdoMaster Mileage Programmer
To update OBDSTAR Odo Master odometer correction tool software, you need to register device first. OdoMaster enjoy 1 year free update (300USD/year later.)
How to Register OdoMaster?
Switch on the power before registration
Go to Home menu-> Setting->WiFi, connect WiFi
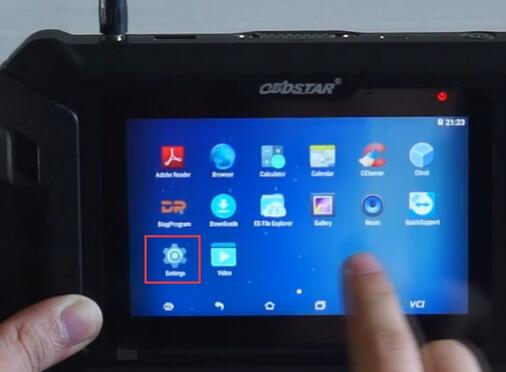
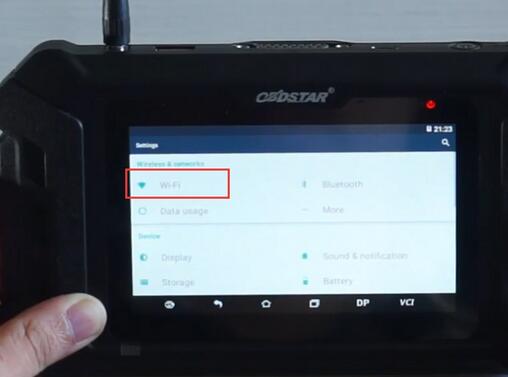
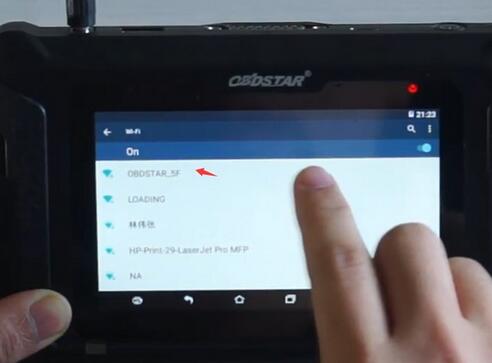
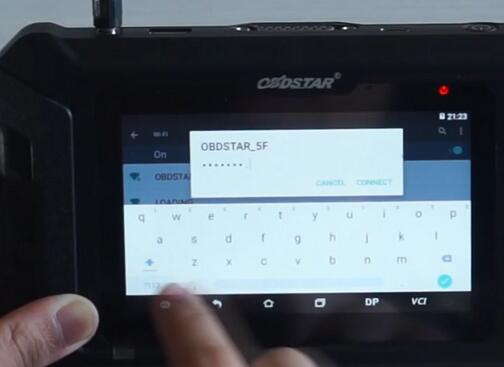
Go to main function menu, select Settings->User Information
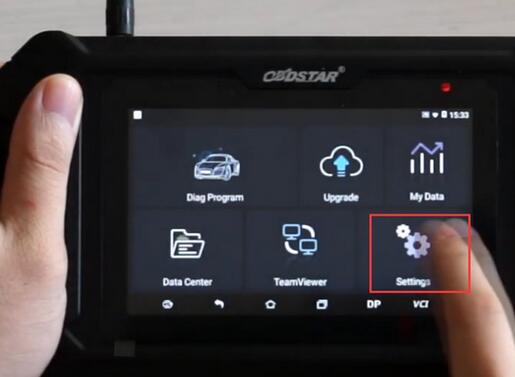
OdoMaster ask to enter user name and password to access. For new user, select Register
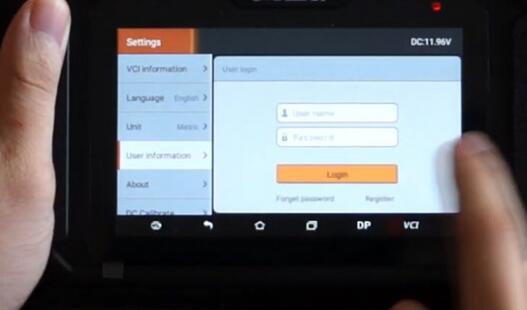
Register OdoMaster with User name, password and email address
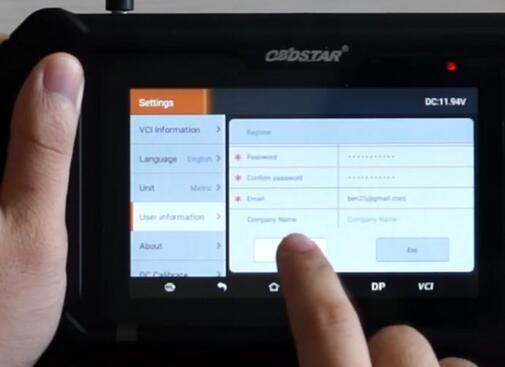
Register success.
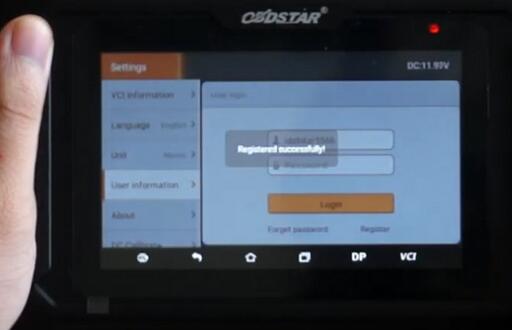
How to Update OBDSTAR OdoMaster?
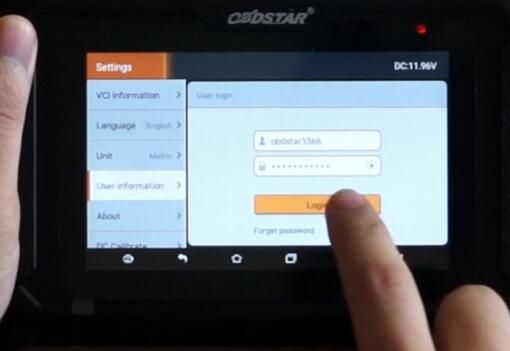
Login Odo Master with user name and password
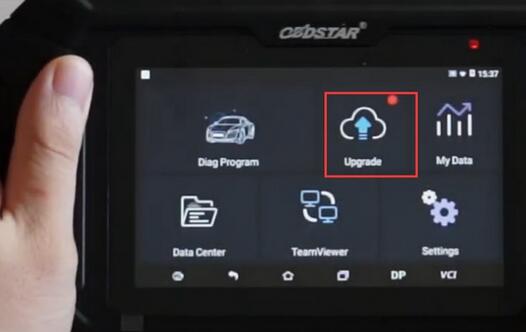
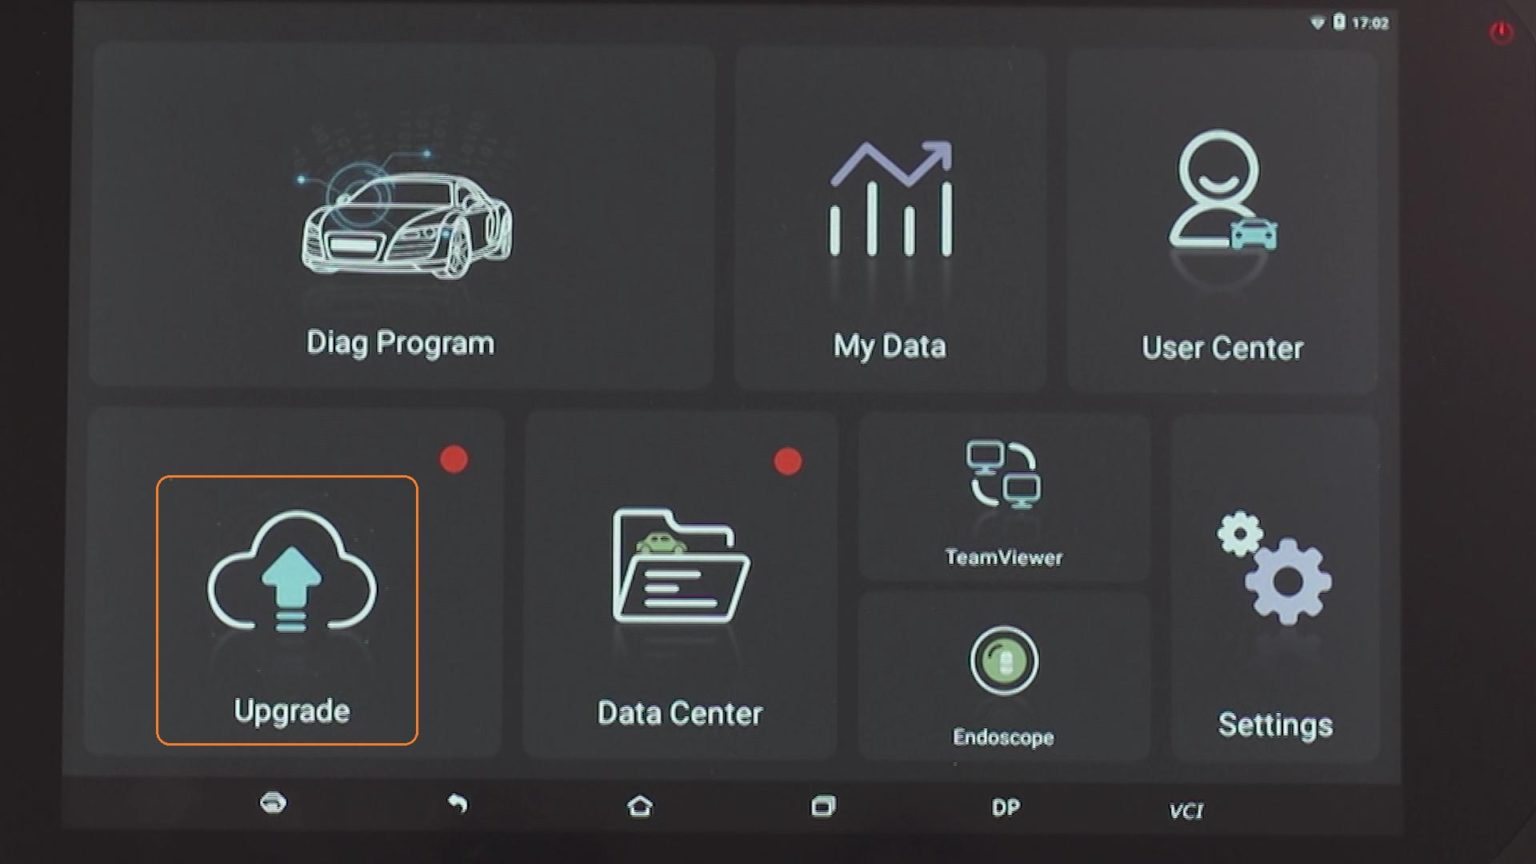
Go to function menu, select Upgrade
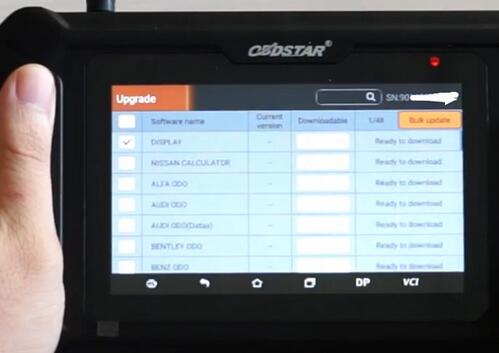
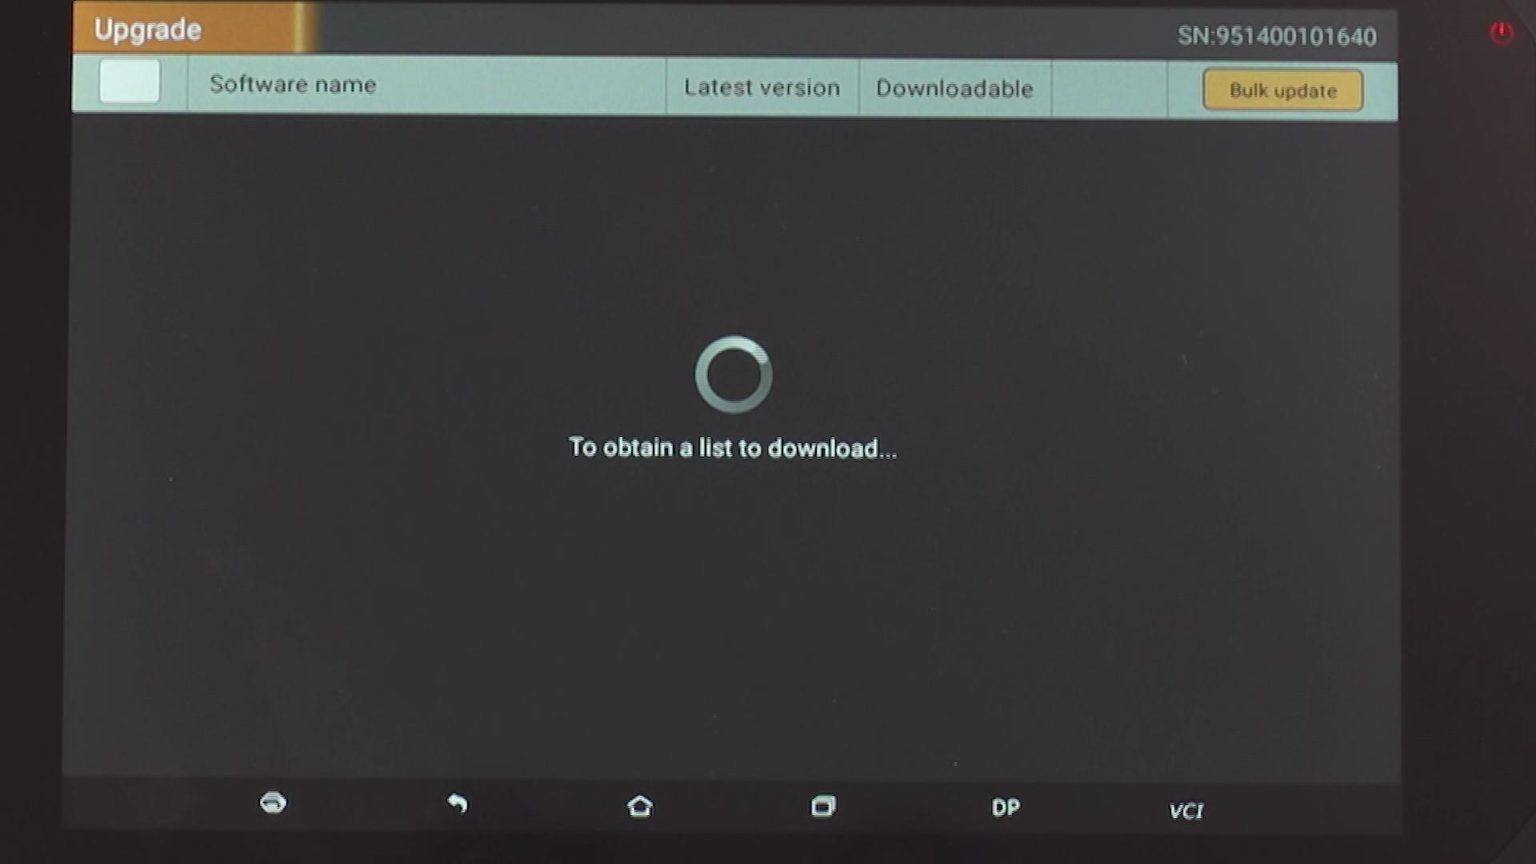
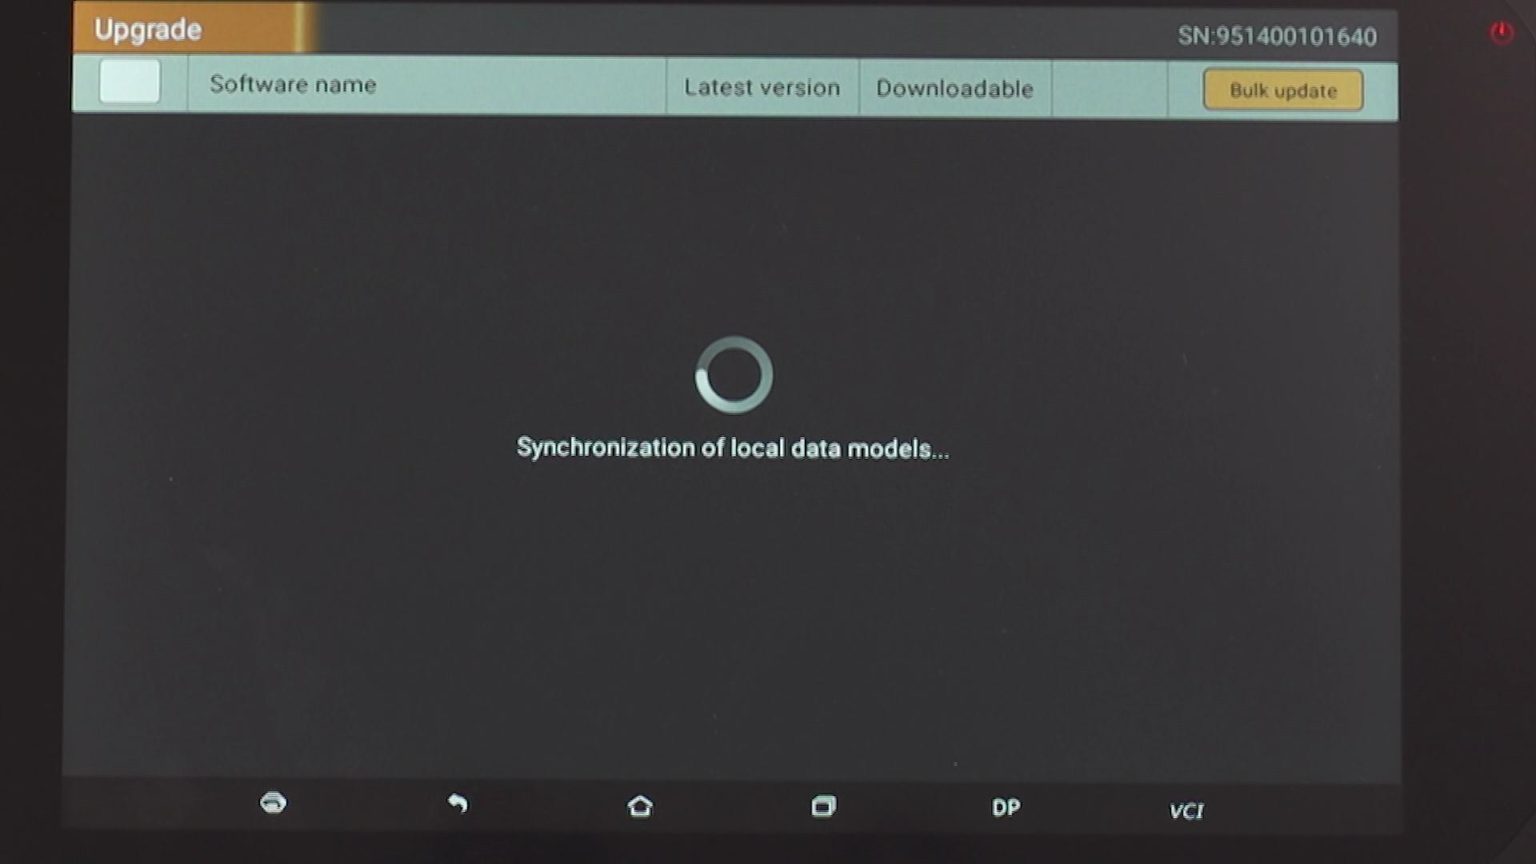
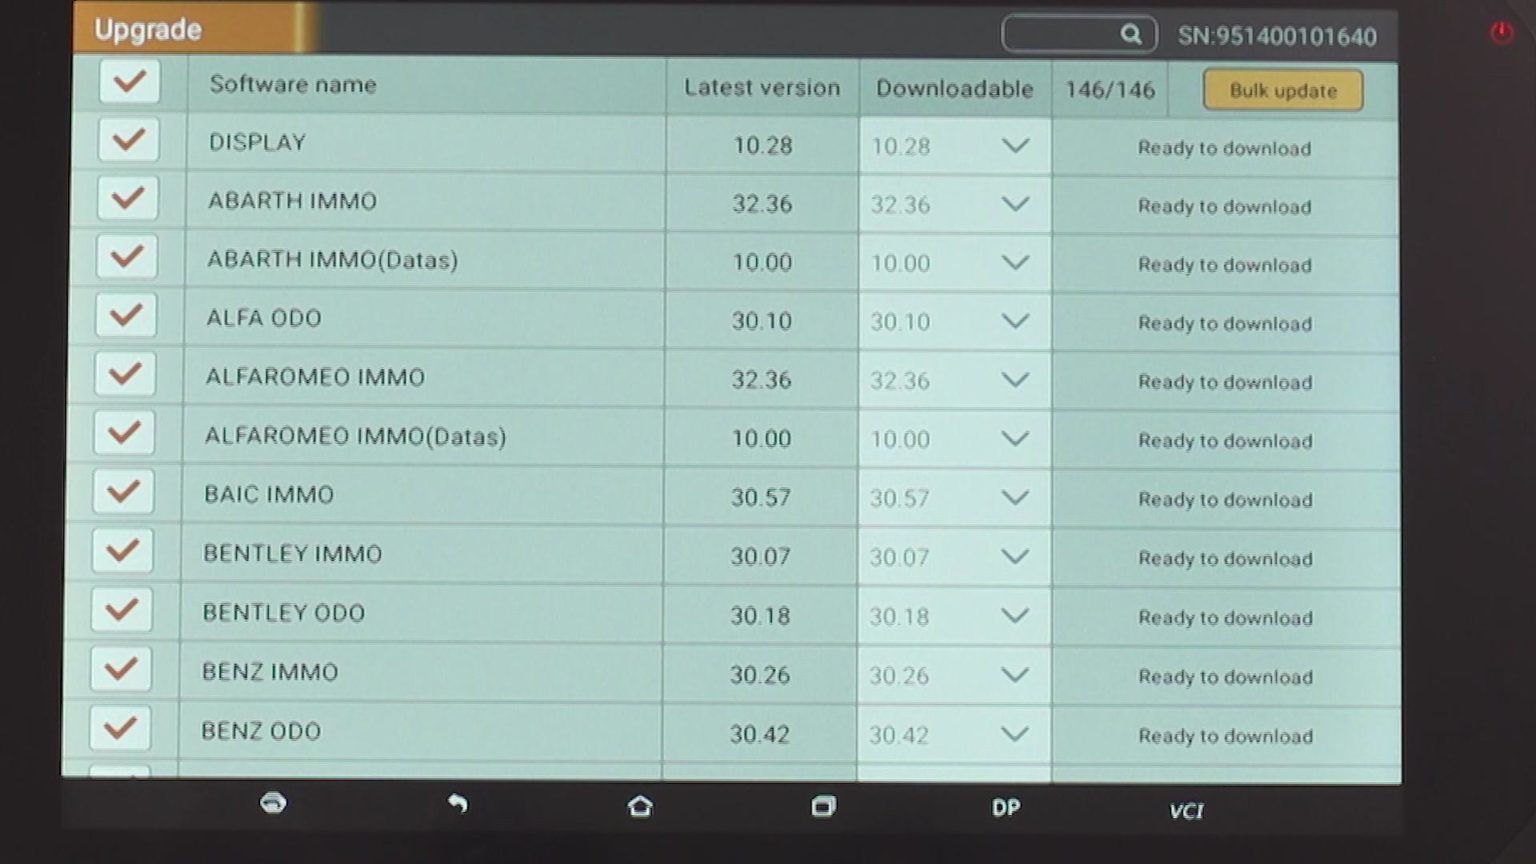
Check software available to update
You can either choose single software or bulk software to update
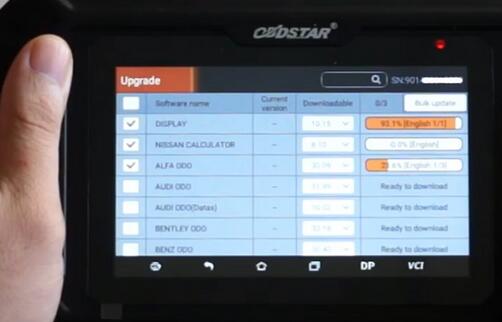
Done.
Part 2. How to Register and Update OBDSTAR X300 DP PLUS PAD2
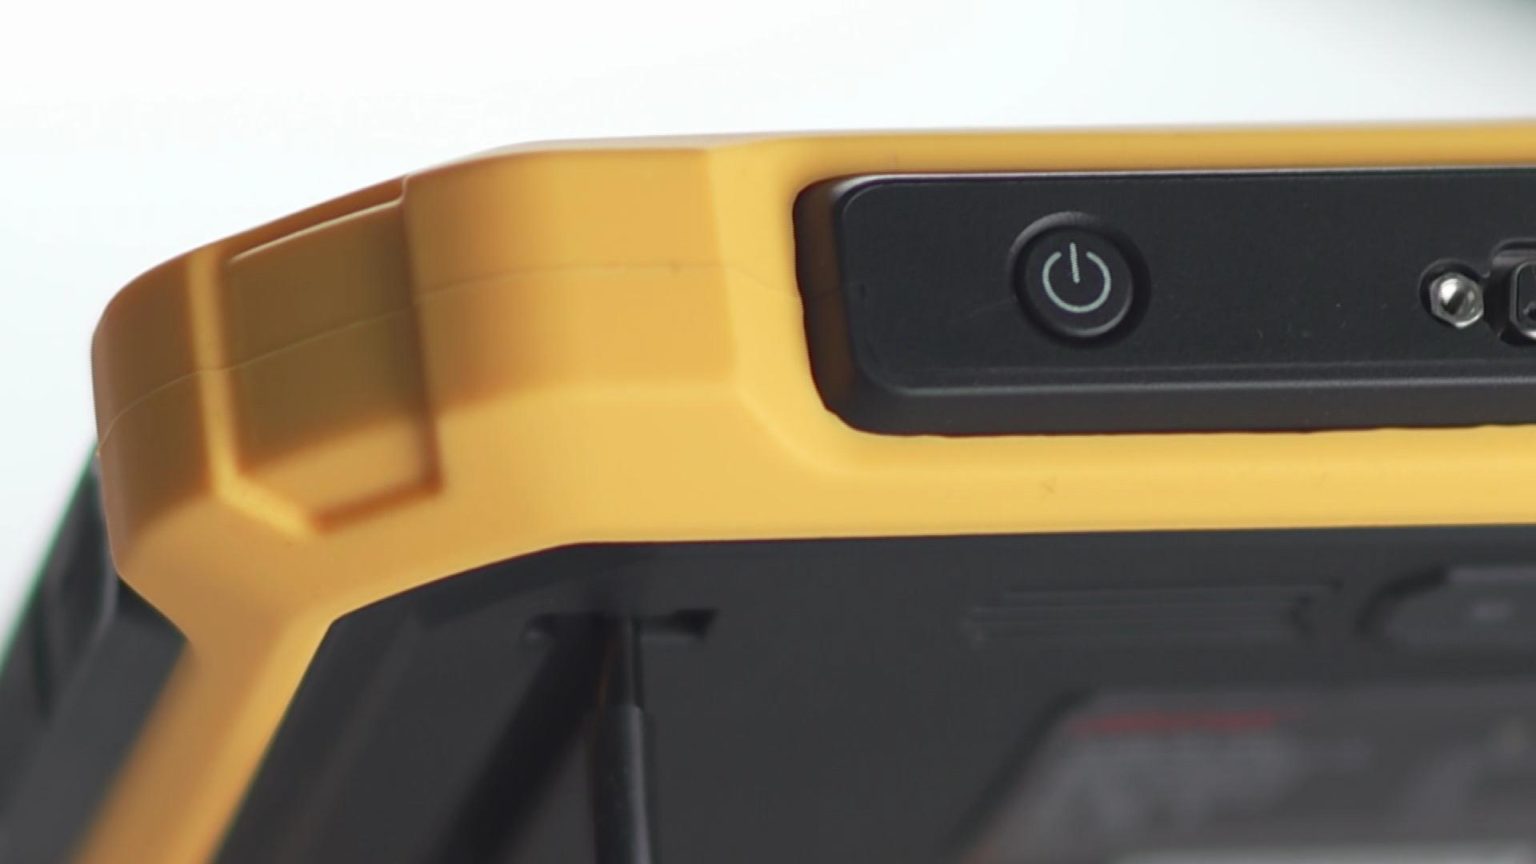
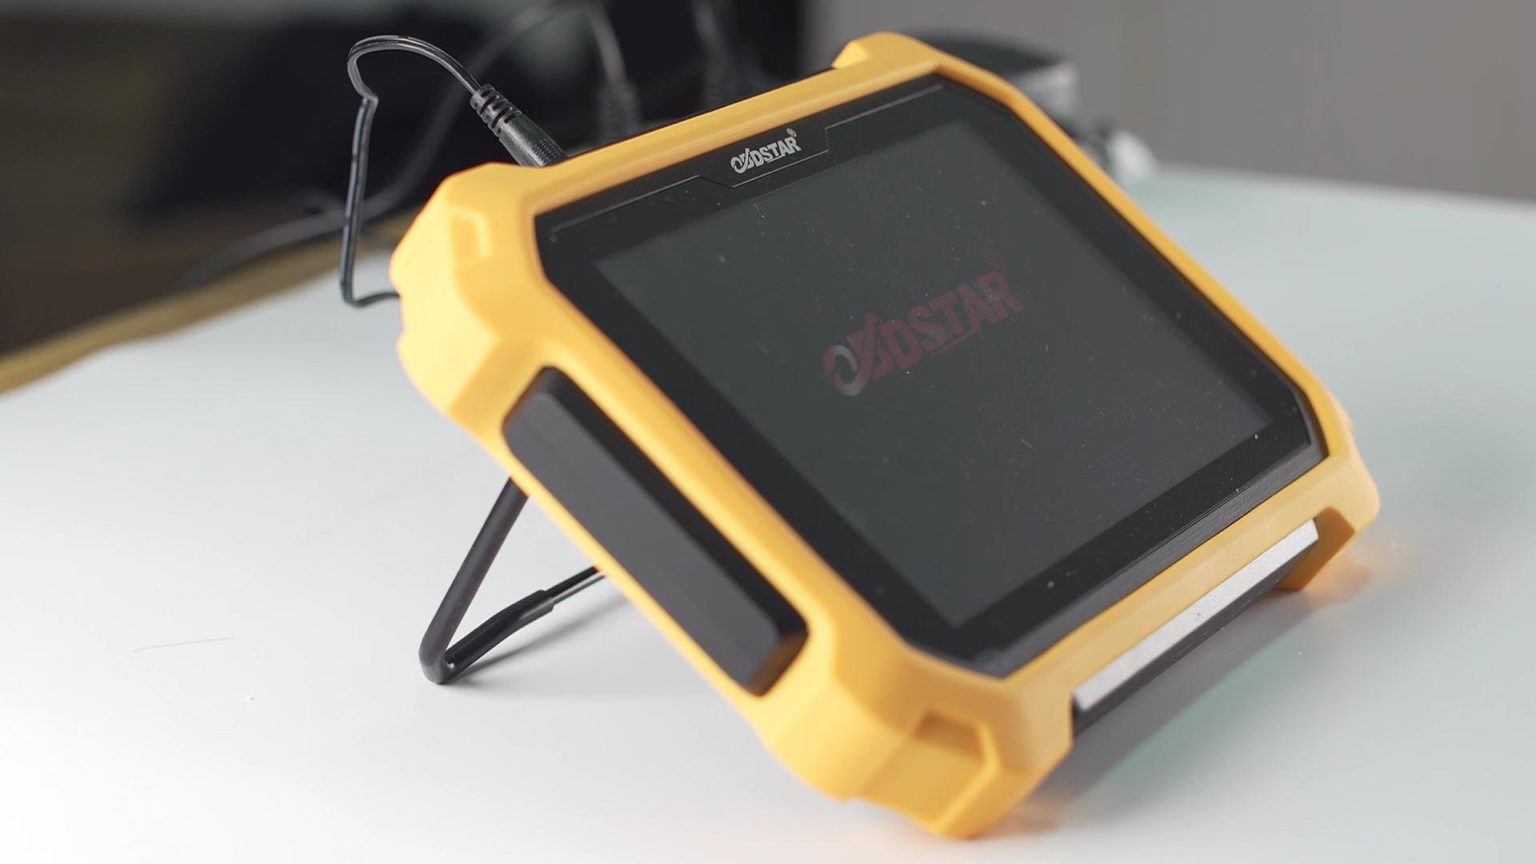
Hold on the “ON” button for 3 seconds to turn on the machine.
1 Connect to your Wifi
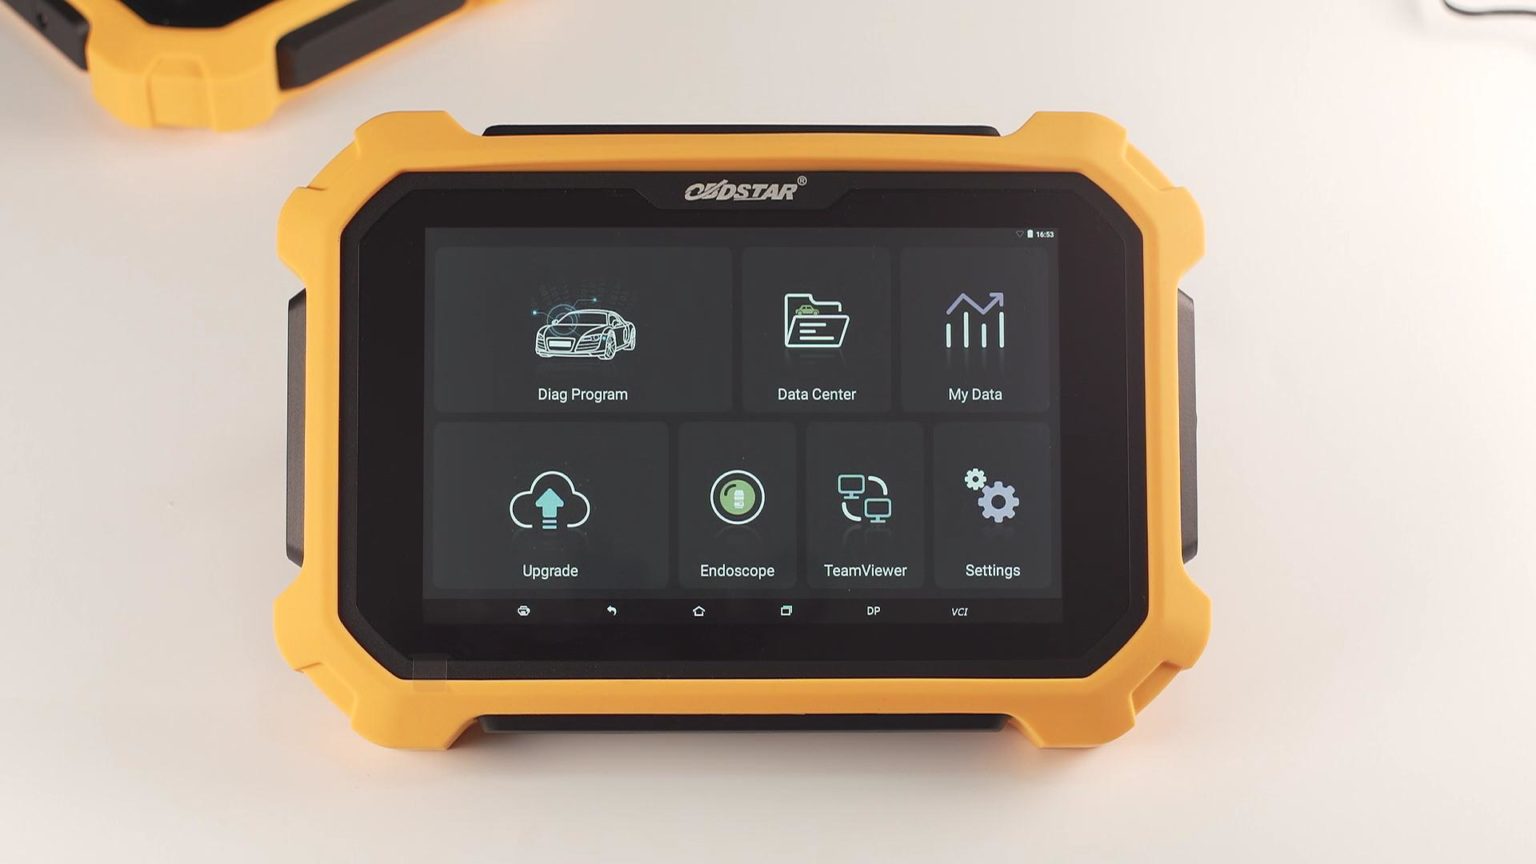
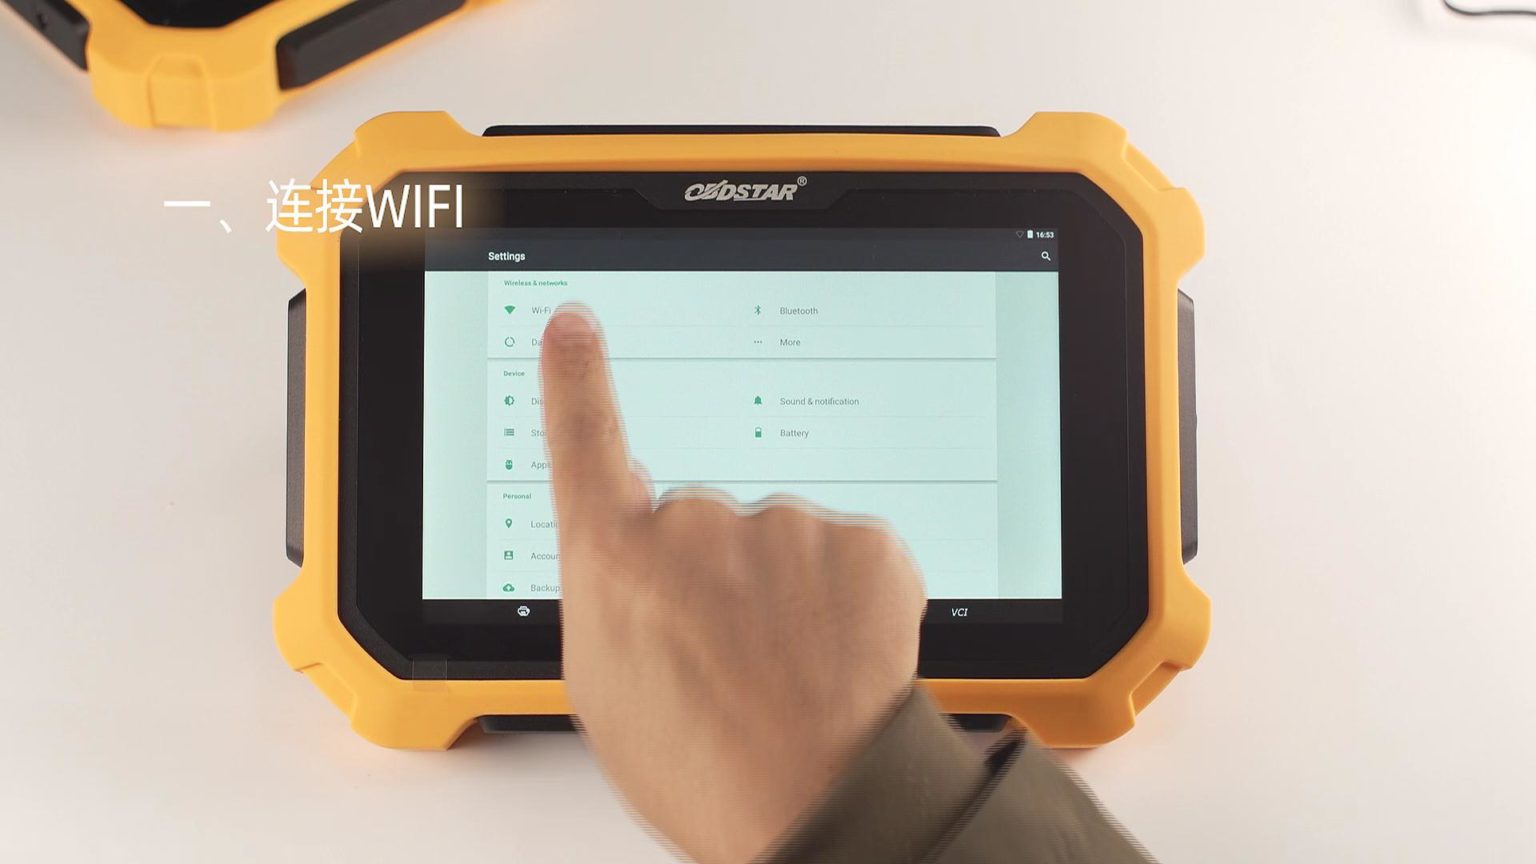
Tap the “Setting” option.
Select “Wifi” connection
Connect the WIFI
Wifi connection succeed
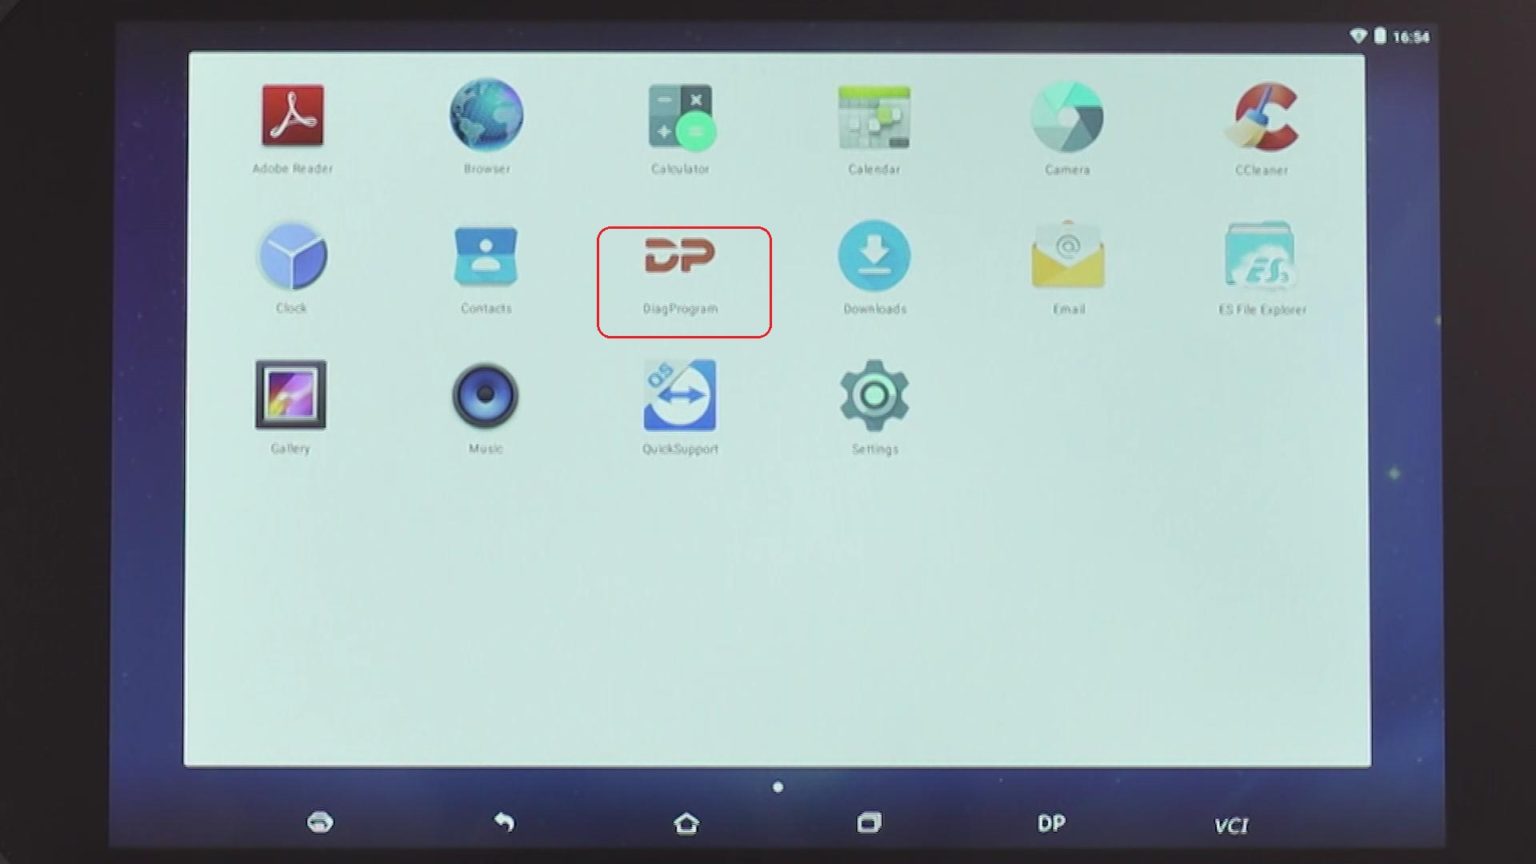
2. Register a user account
Tap the “Update” option.
Select “Register”.
If the SN (serial number) and the registration password can’t display automatically, please check if the 12V power supply is connected.
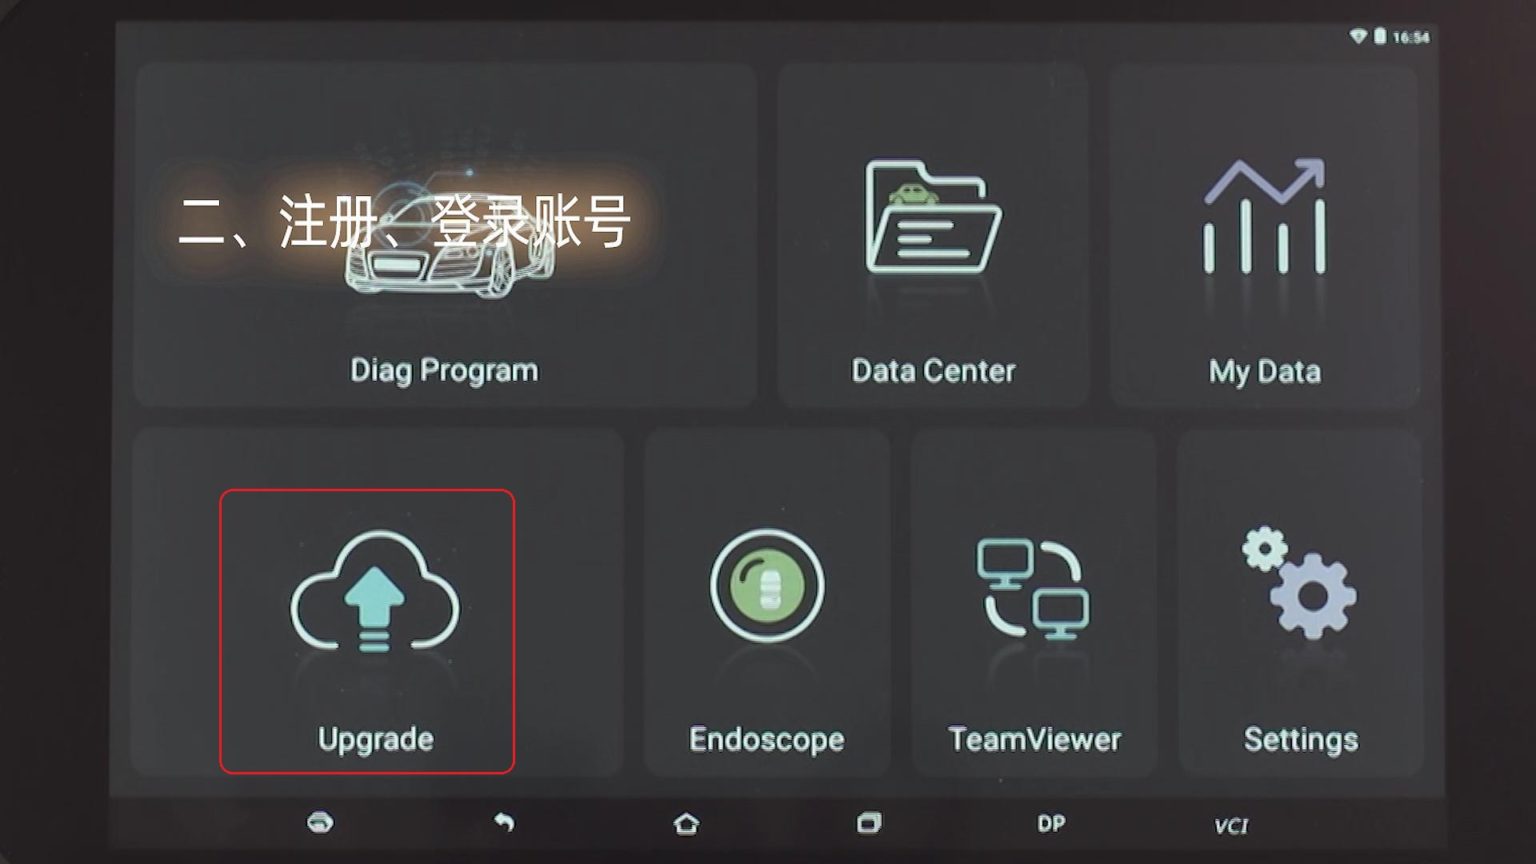
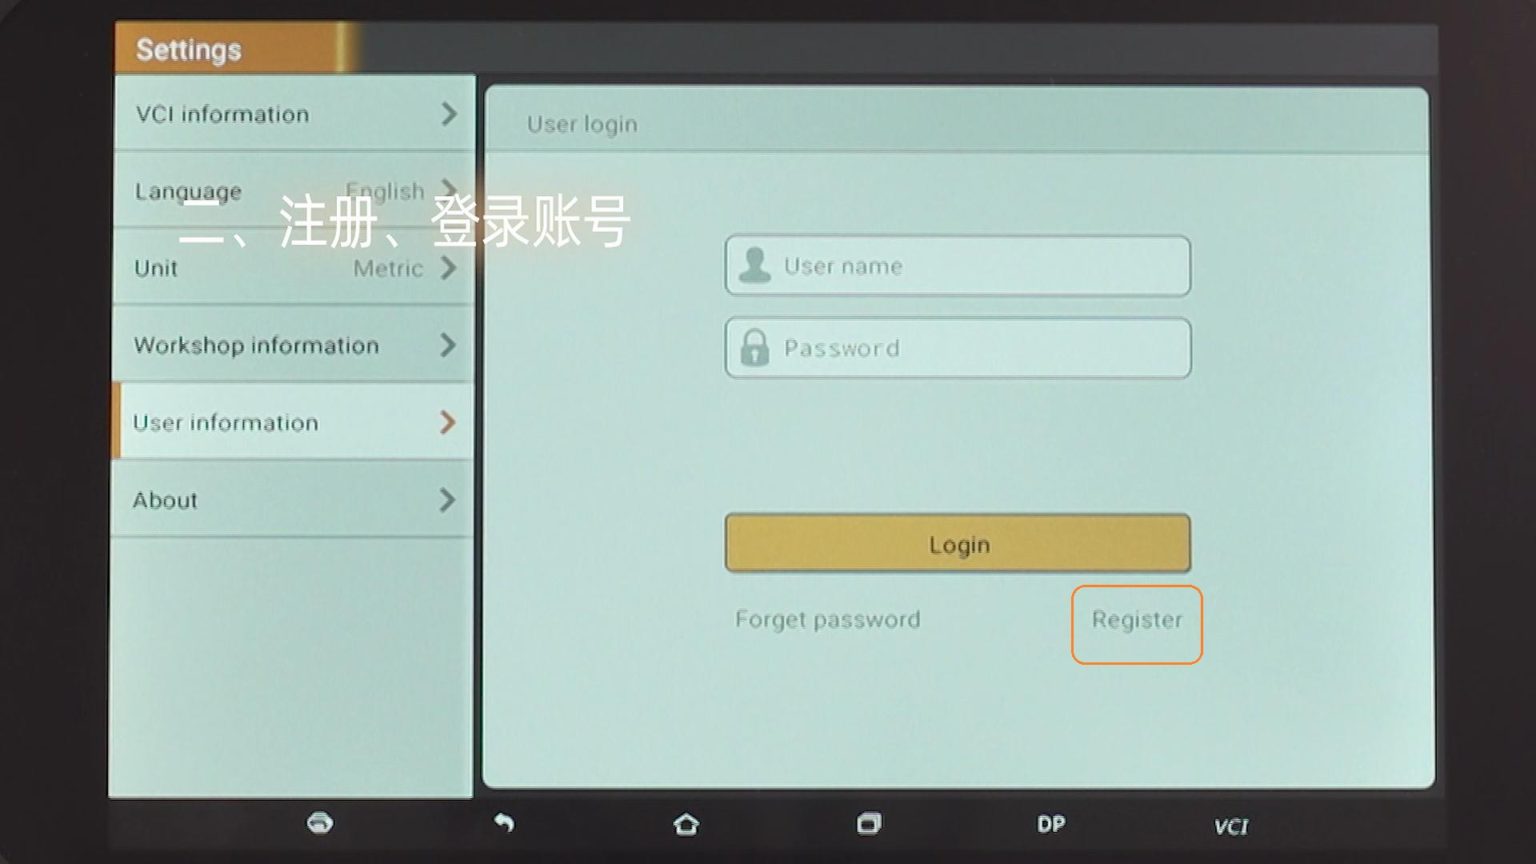
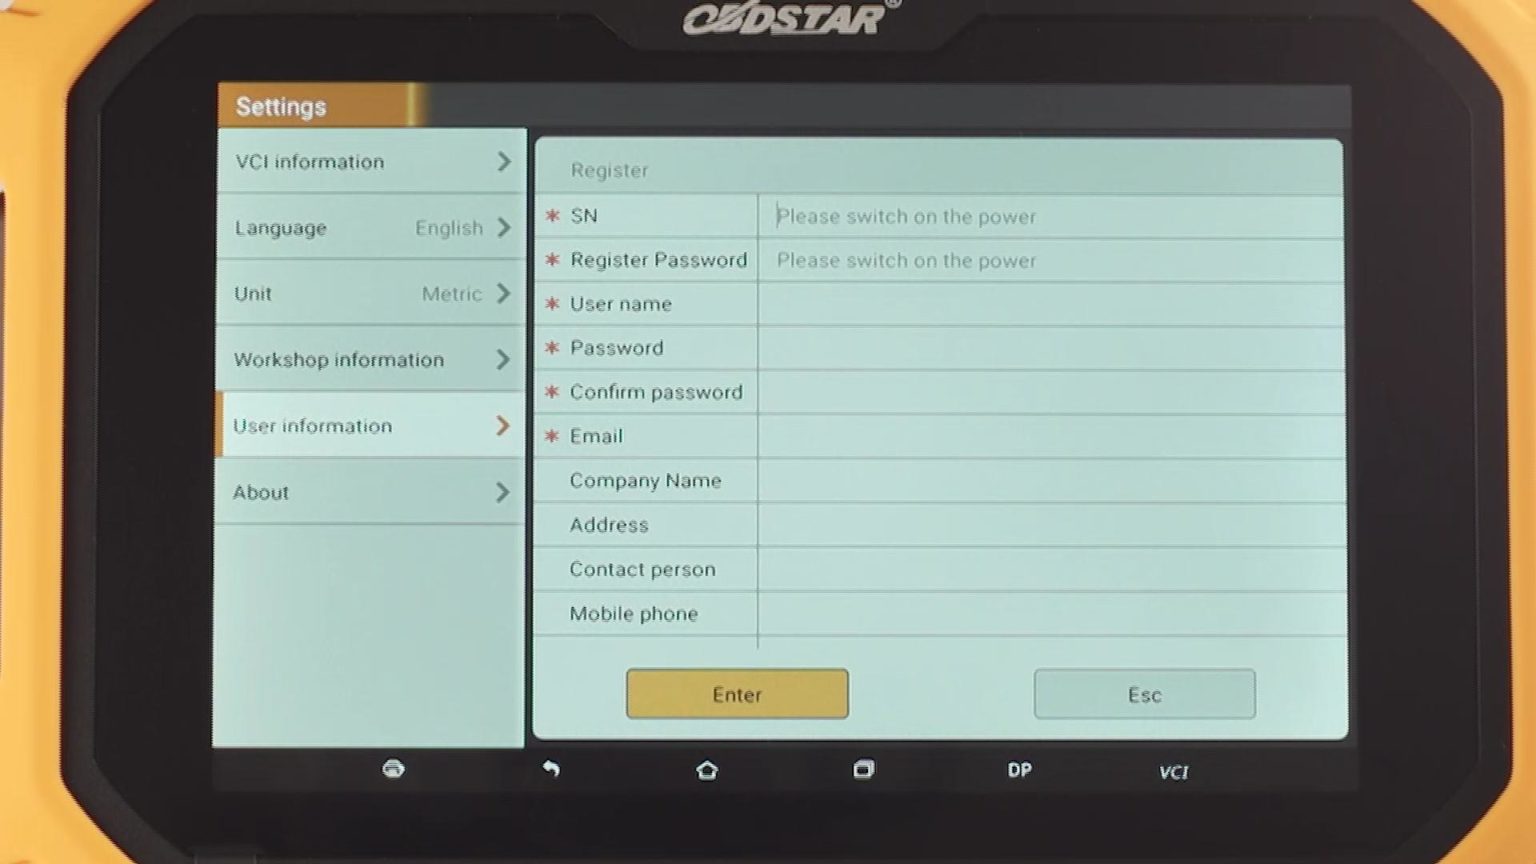
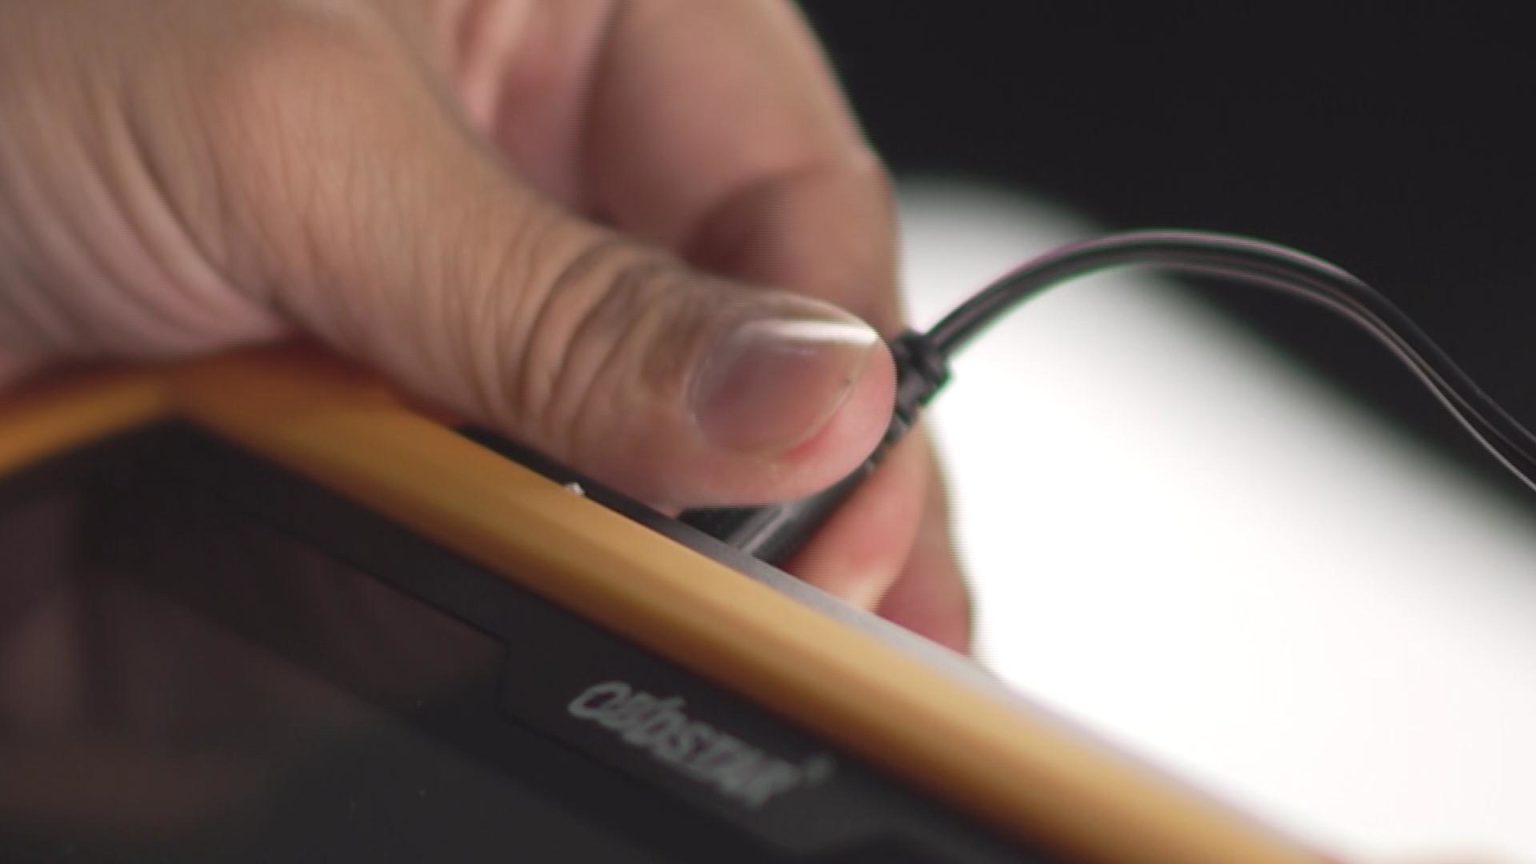
3. Please connect 12v power supply.
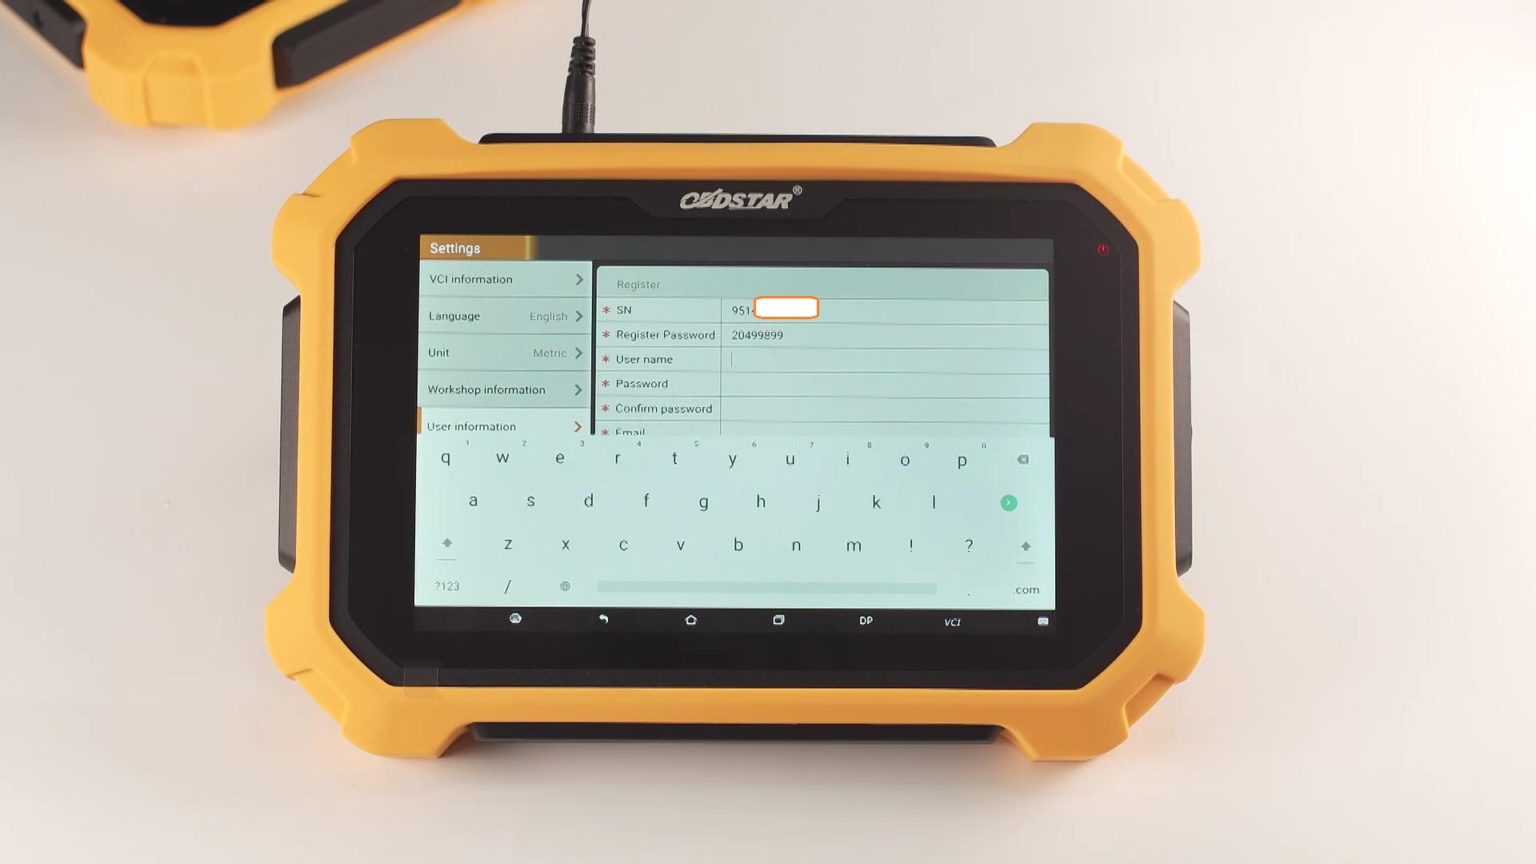
Enter the registration menu.
Have SN number and the password.
Input the information and complete registration.
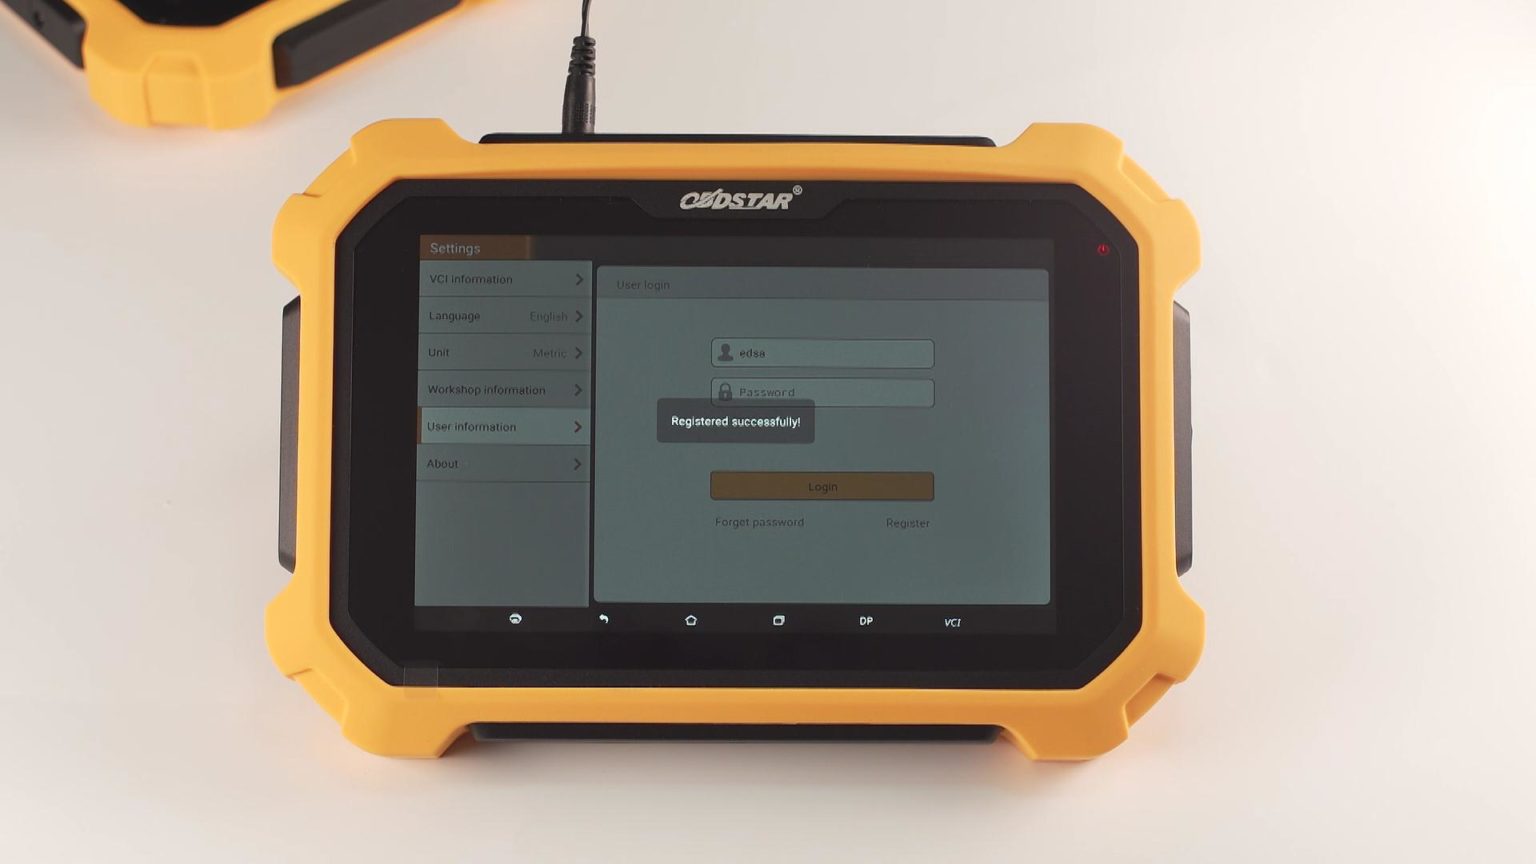
Enter the password to login.
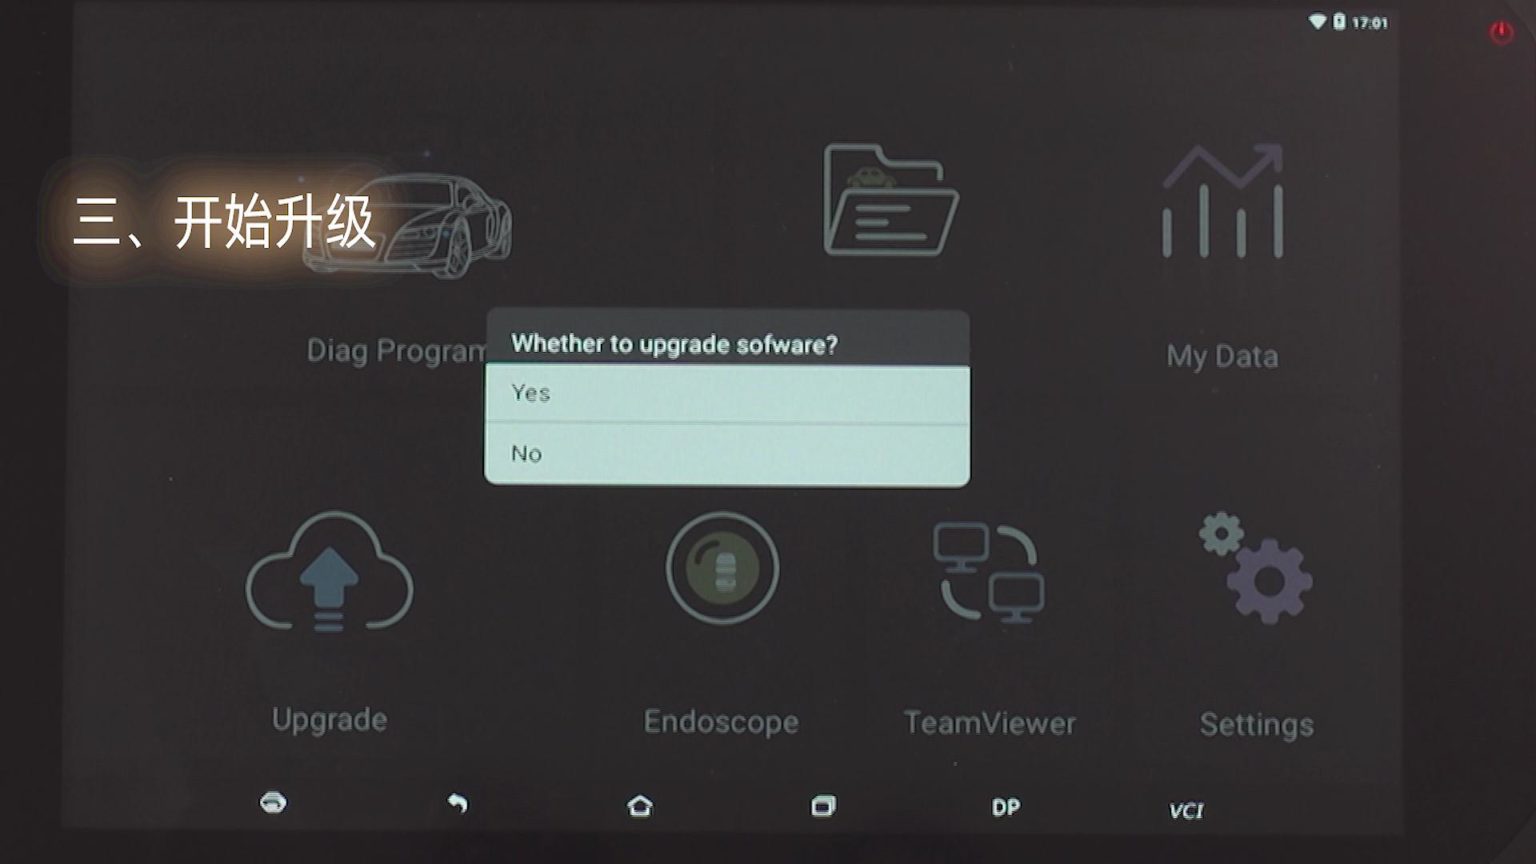
4.Update all car software
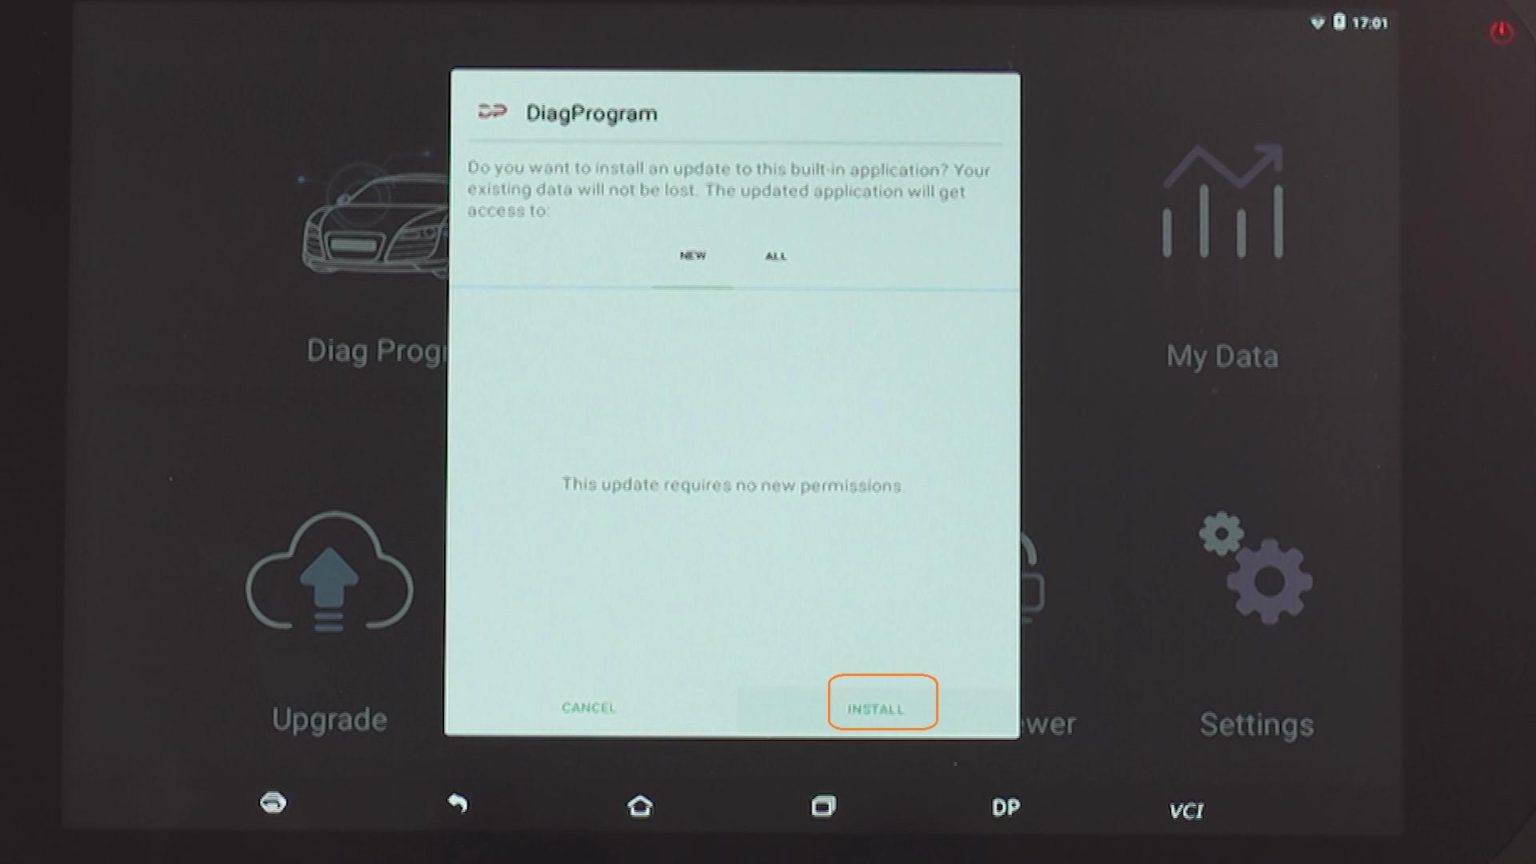
Have message” download the new app”.
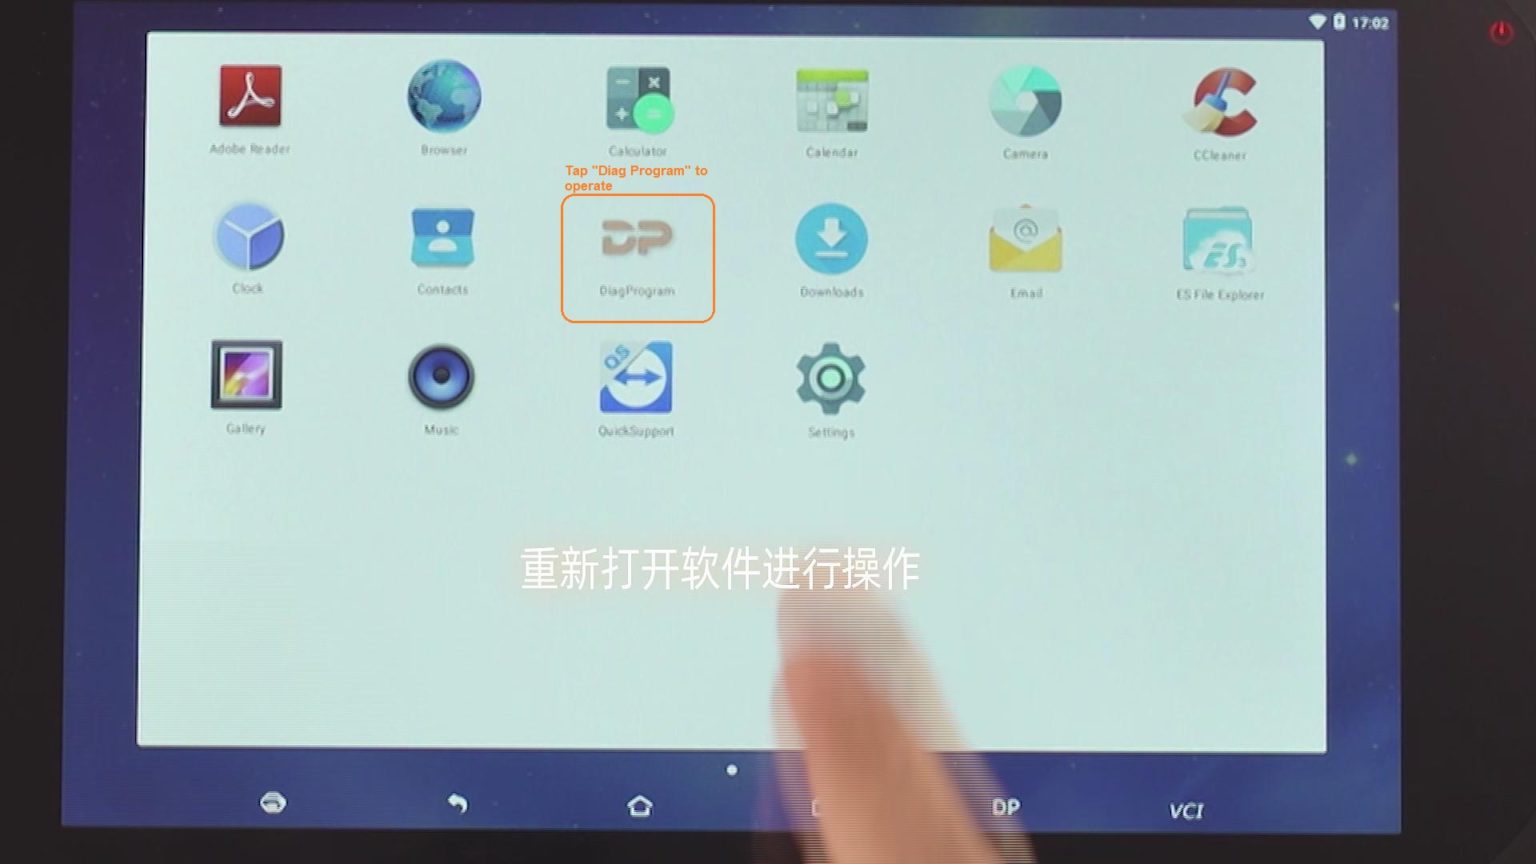
Install the new APP.
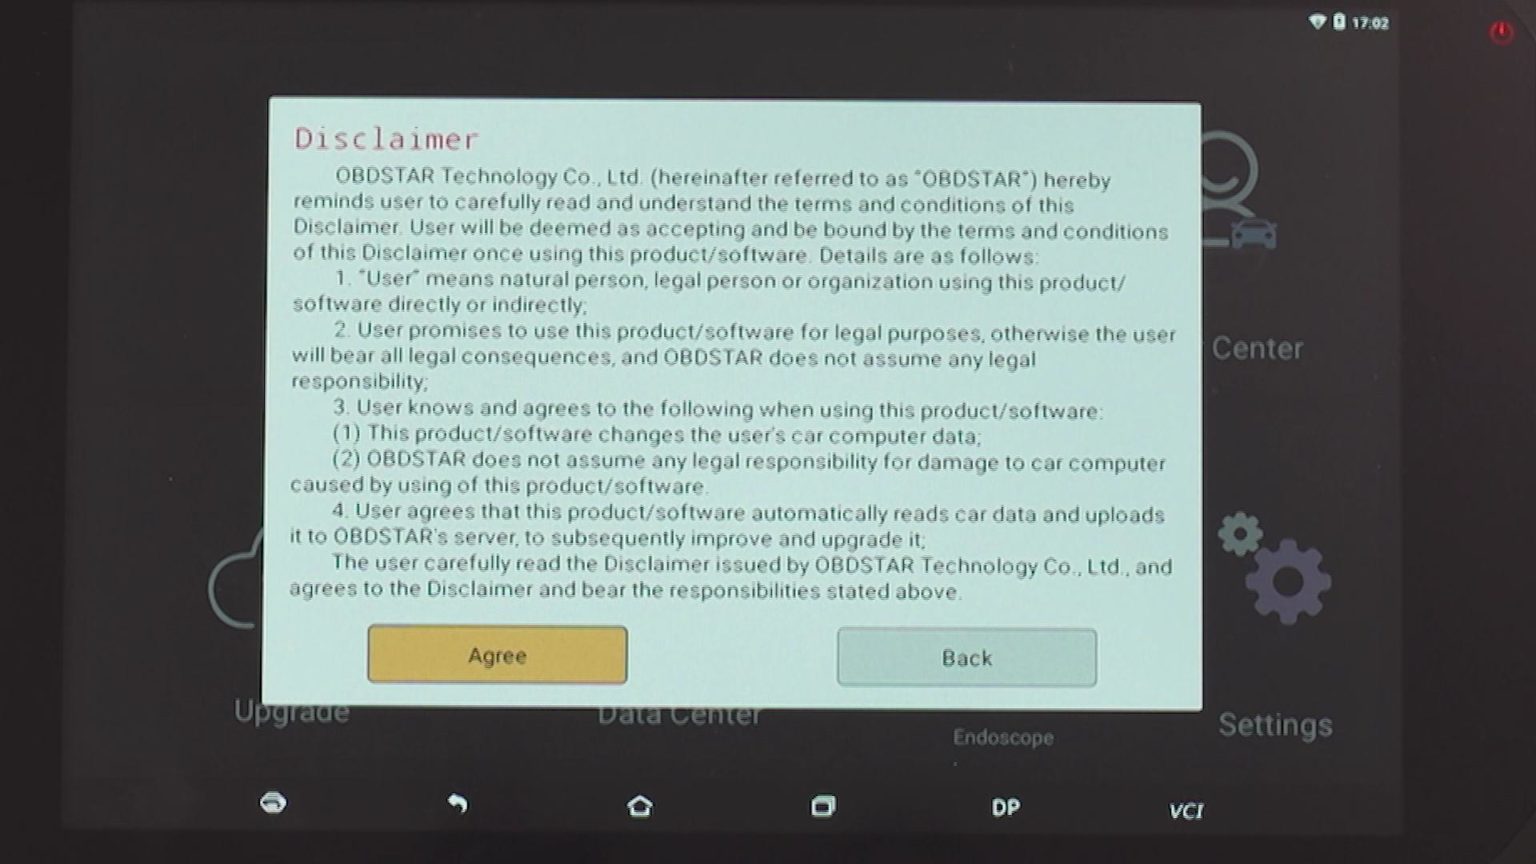
Enter the software.
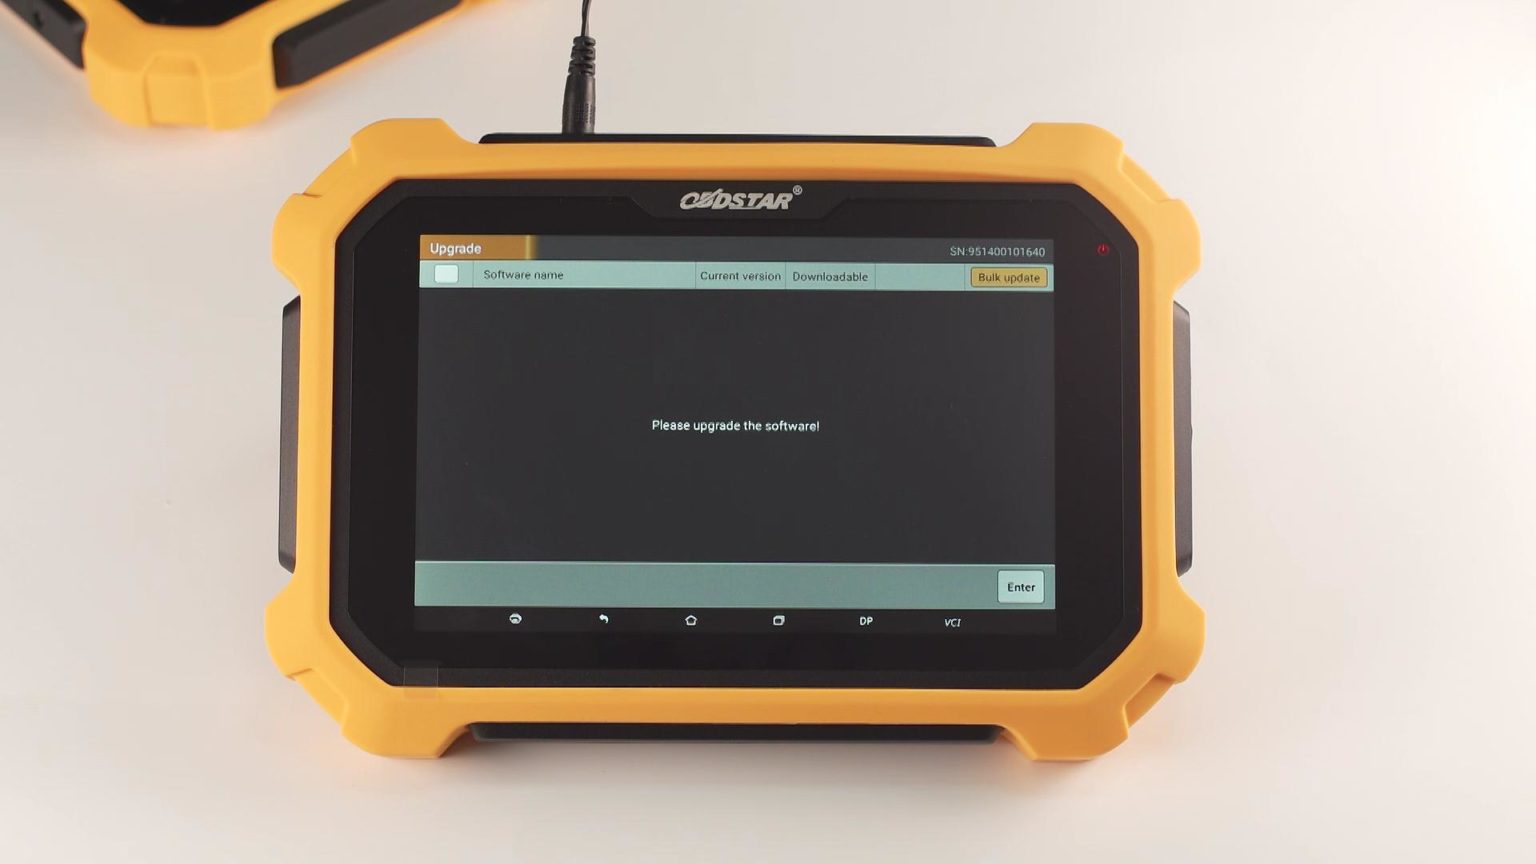
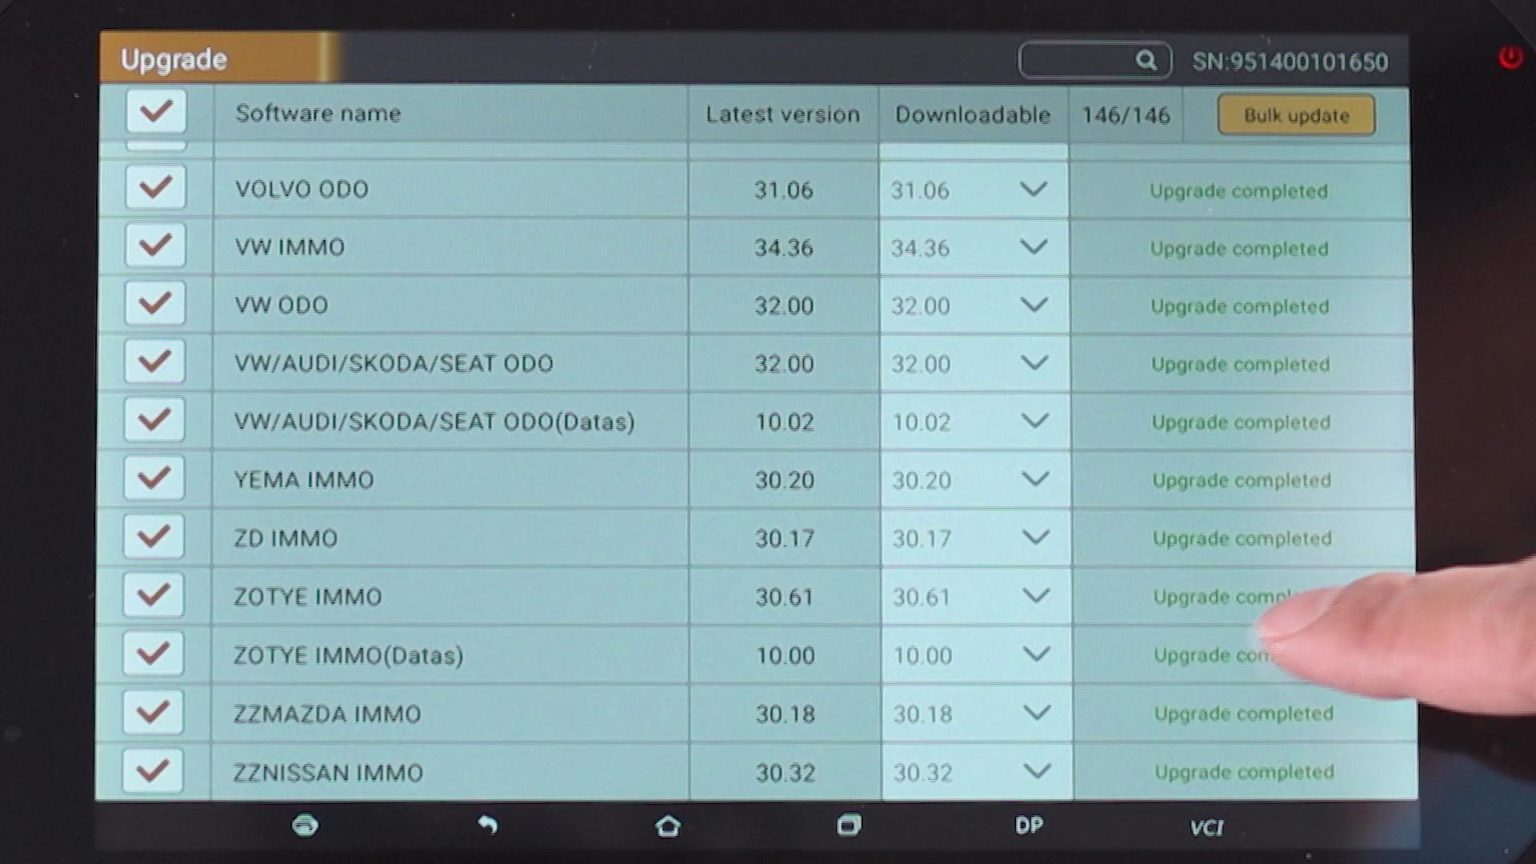
Select all software to update, then select “Bulk update”.
Wait until the software update complete (The update speed is up to the network connection speed).
FYI, if obdstar x300 dp plus one-year free update period expired, you can order the one-year update service:
To update OBDSTAR Odo Master odometer correction tool software, you need to register device first. OdoMaster enjoy 1 year free update (300USD/year later.)
How to Register OdoMaster?
Switch on the power before registration
Go to Home menu-> Setting->WiFi, connect WiFi
Go to main function menu, select Settings->User Information
OdoMaster ask to enter user name and password to access. For new user, select Register
Register OdoMaster with User name, password and email address
Register success.
How to Update OBDSTAR OdoMaster?
Login Odo Master with user name and password
Go to function menu, select Upgrade
Check software available to update
You can either choose single software or bulk software to update
Done.
Part 2. How to Register and Update OBDSTAR X300 DP PLUS PAD2
Hold on the “ON” button for 3 seconds to turn on the machine.
1 Connect to your Wifi
Tap the “Setting” option.
Select “Wifi” connection
Connect the WIFI
Wifi connection succeed
2. Register a user account
Tap the “Update” option.
Select “Register”.
If the SN (serial number) and the registration password can’t display automatically, please check if the 12V power supply is connected.
3. Please connect 12v power supply.
Enter the registration menu.
Have SN number and the password.
Input the information and complete registration.
Enter the password to login.
4.Update all car software
Have message” download the new app”.
Install the new APP.
Enter the software.
Select all software to update, then select “Bulk update”.
Wait until the software update complete (The update speed is up to the network connection speed).
FYI, if obdstar x300 dp plus one-year free update period expired, you can order the one-year update service:
Comments
Post a Comment