How to install and use GDS2 and Tech2Win on VXDIAG VCX NANO interface for GM quickly? Here is the latest guide to make it easier for you to understand.
Part 1: Install GDS2 software on VXDIAG VCX NANO interface
Part 2: Run Tech2Win
Part 3: Run GDS2 software
OS (Operation System):
1) GDS2: WIN7/8 64bit and install VMware player
2) Tech2Win: xp, win7 64bit or win8 64bit
In detail…
Part 1: Install GDS2 software on VXDIAG VCX NANO interface
1.Open DVD Drive (E:) GM-> Tech2Win folder-> AutoInstall

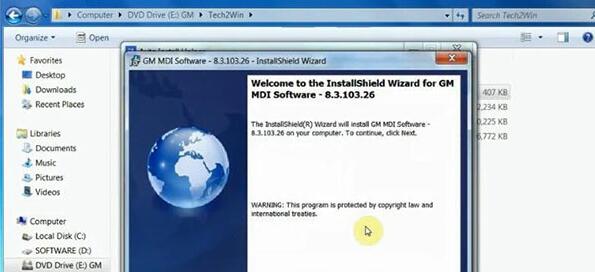
2.Install GM MDI software
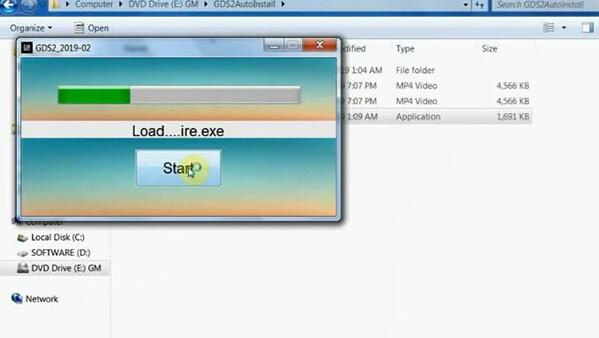
3.Open GDS2AutoInstall folder and run the software
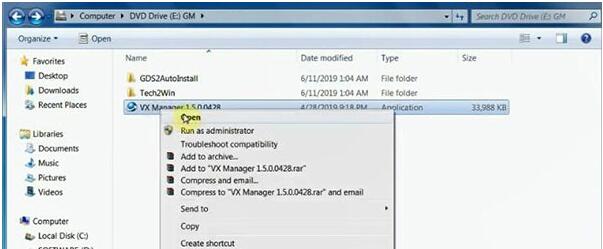
4.Run VX Manager
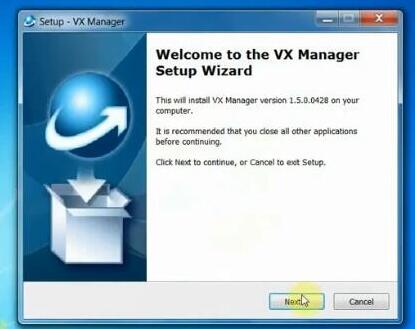
5.Enter VX Manager Setup Wizard
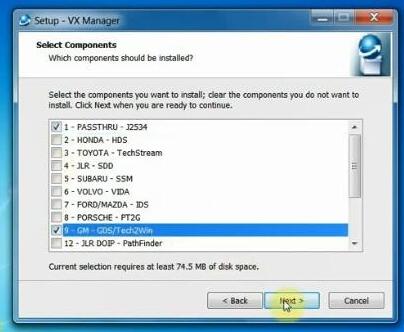
6.Select [1-PASSTHRU-J2534] and [9-GM-GDS/Tech2Win]
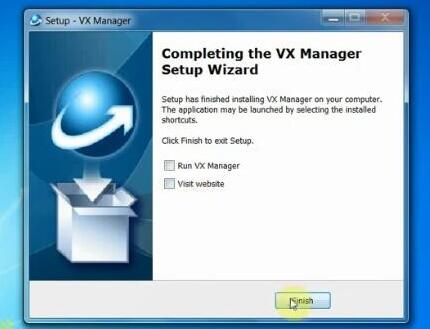
7.Install VX Manager successfully, uncheck [Run VX Manager] and [Visit website]
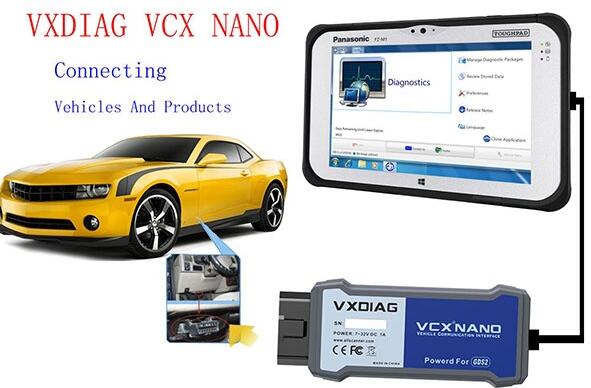
8.According to the connection diagram to connect vehicle and computer by VXDIAG VCX NANO device
9.When finish connection, it will prompt the device is ready to use.
Open the Device Manager to view the device driver

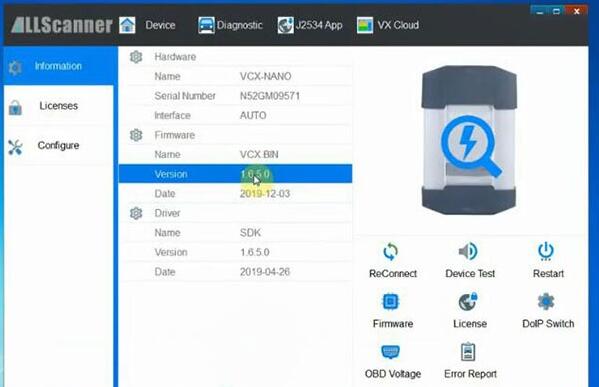
10.Run VX Manager to view the device version and authorization
Vxdiag-Vcx-Nano-Gds2-Tech2win-Install-11
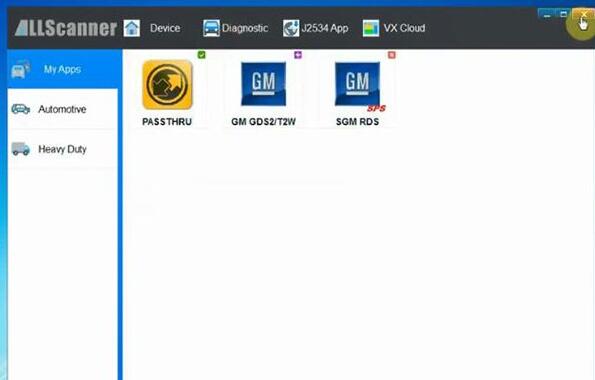
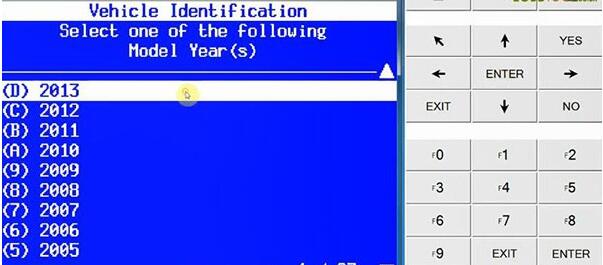
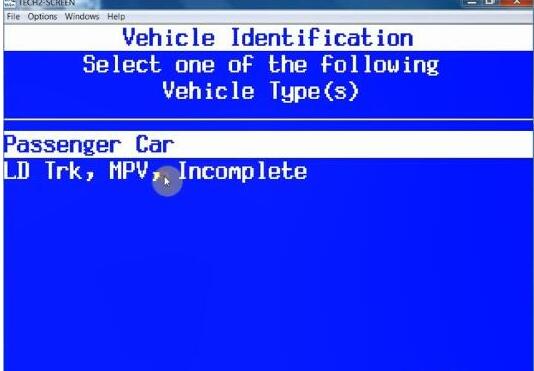
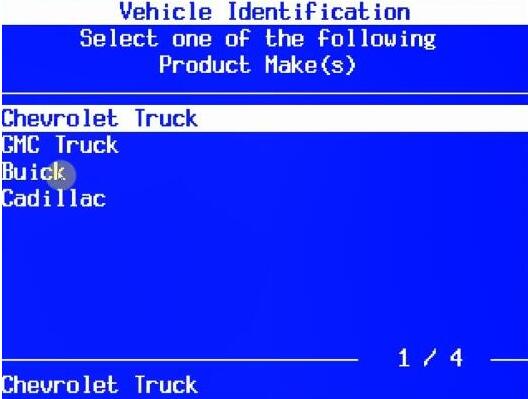
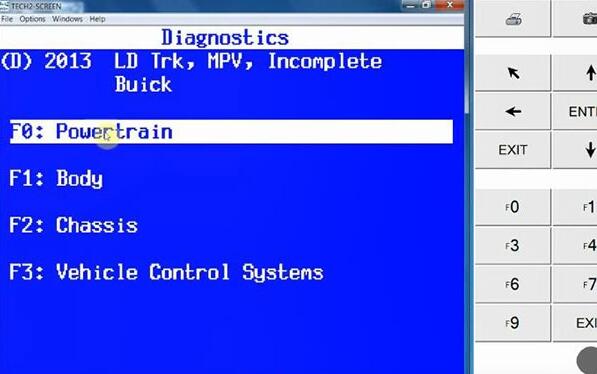
Part 2: Run Tech2Win
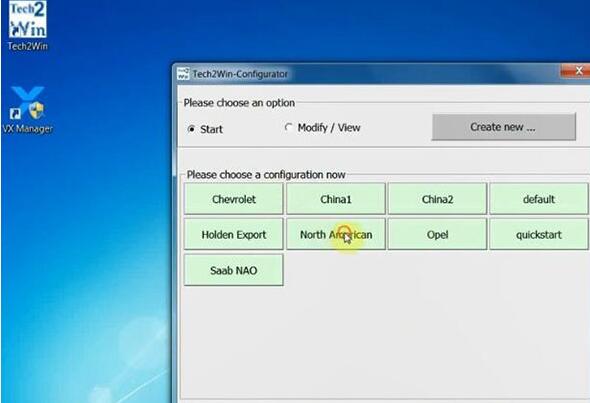
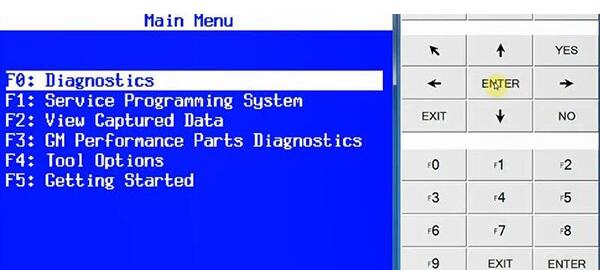
Open Tech2Win software
Select [North American] and select the manufacturer you want to use
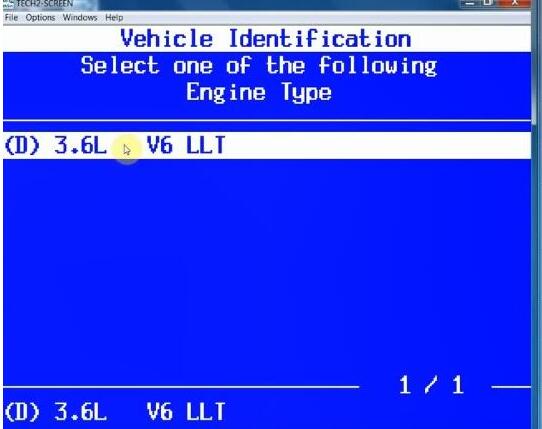
Select the corresponding car model you want to diagnose
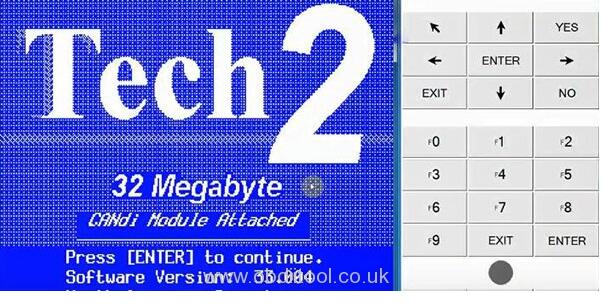

Restart computer
Part 3: Run GDS2 software
Open GDS2 software
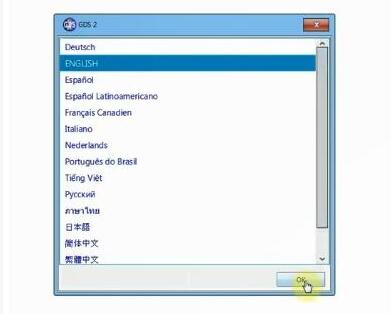
Select Language and then enter Diagnostics

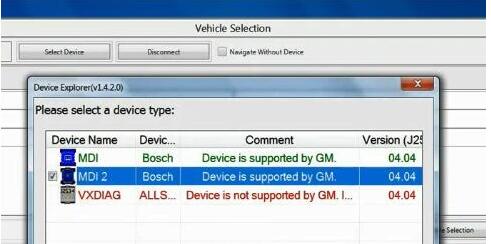
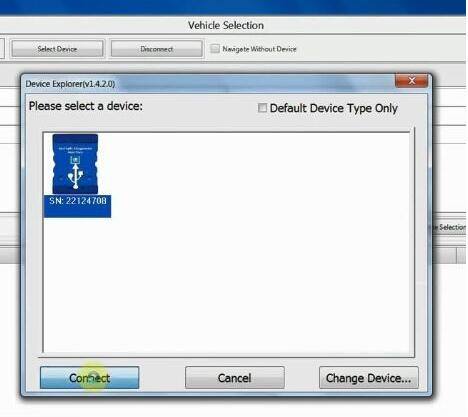
Choose MDI2-> SN: 22124708
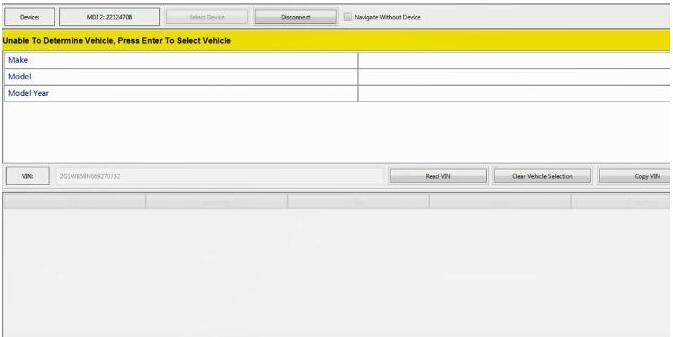
The software automatically recognizes the vehicle VIN
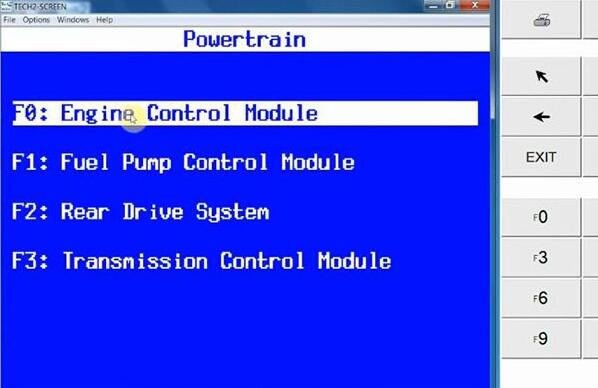
Click Enter for diagnose
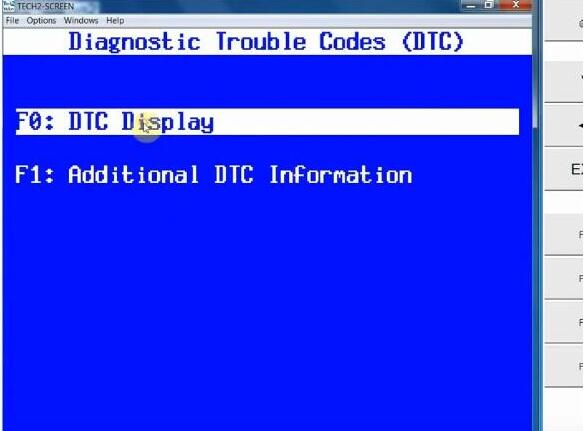
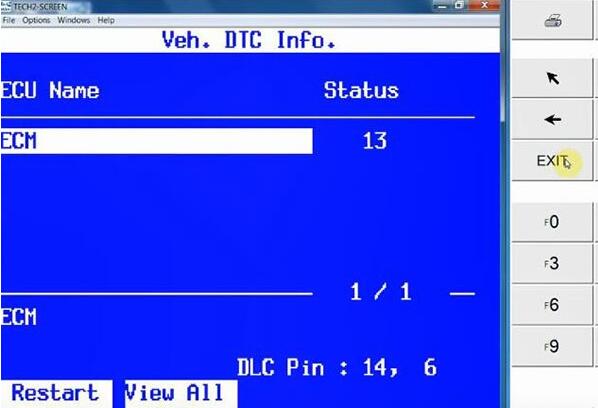
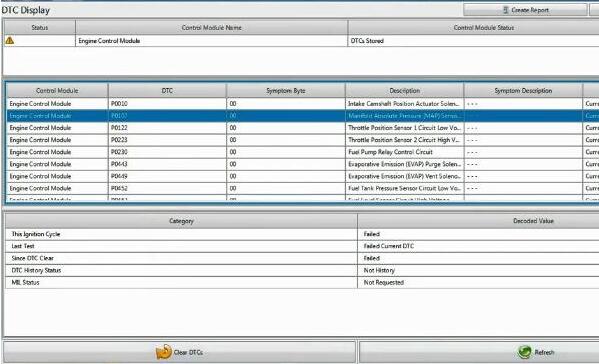
Select vehicle model to read and clear DTC
Part 1: Install GDS2 software on VXDIAG VCX NANO interface
Part 2: Run Tech2Win
Part 3: Run GDS2 software
OS (Operation System):
1) GDS2: WIN7/8 64bit and install VMware player
2) Tech2Win: xp, win7 64bit or win8 64bit
In detail…
Part 1: Install GDS2 software on VXDIAG VCX NANO interface
1.Open DVD Drive (E:) GM-> Tech2Win folder-> AutoInstall
2.Install GM MDI software
3.Open GDS2AutoInstall folder and run the software
4.Run VX Manager
5.Enter VX Manager Setup Wizard
6.Select [1-PASSTHRU-J2534] and [9-GM-GDS/Tech2Win]
7.Install VX Manager successfully, uncheck [Run VX Manager] and [Visit website]
8.According to the connection diagram to connect vehicle and computer by VXDIAG VCX NANO device
9.When finish connection, it will prompt the device is ready to use.
Open the Device Manager to view the device driver
10.Run VX Manager to view the device version and authorization
Vxdiag-Vcx-Nano-Gds2-Tech2win-Install-11
Part 2: Run Tech2Win
Open Tech2Win software
Select [North American] and select the manufacturer you want to use
Select the corresponding car model you want to diagnose
Restart computer
Part 3: Run GDS2 software
Open GDS2 software
Select Language and then enter Diagnostics
Choose MDI2-> SN: 22124708
The software automatically recognizes the vehicle VIN
Click Enter for diagnose
Select vehicle model to read and clear DTC
Comments
Post a Comment