
JPRO Professional software Registration and installation


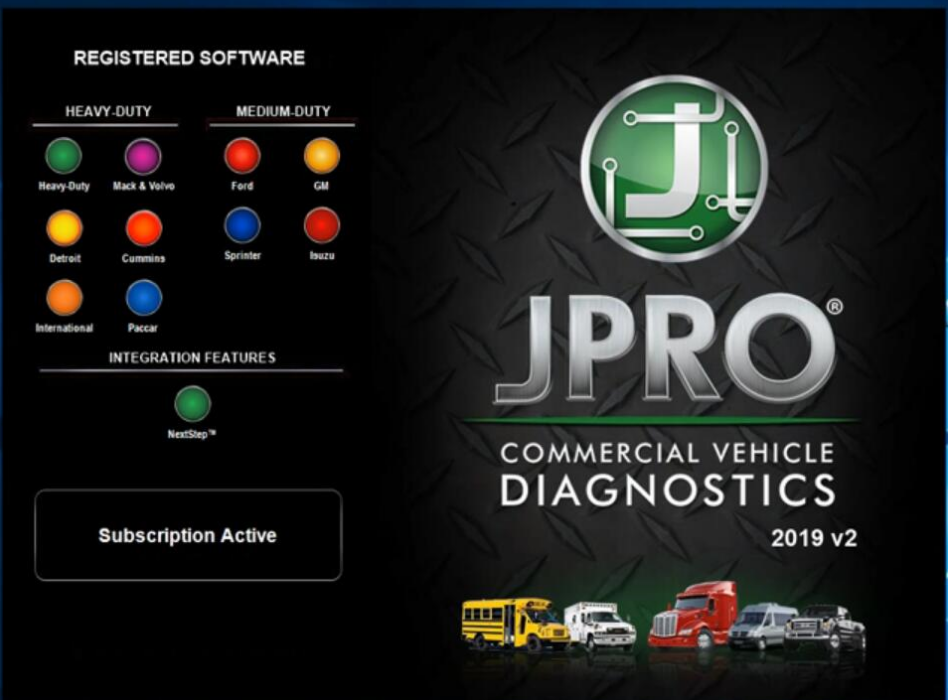
JPRO® Professional is the most comprehensive and powerful all makes, all models diagnostic tool available in the industry today. In one, easy annual subscription, JPRO Professional provides a complete & unparalleled diagnostic service & repair solution with bi-directional functionality.

Next Step Service Information module helps speed up repair times by providing users with detailed engine repair information and troubleshooting guides for ABS and Transmissions – with the click of a button.

Noergon’s DLA+ 2.0 adapter is a diagnostic communication device designed to interface between a vehicle and PC via USB cable for diagnostic and vehicle information, re-programming or parameter adjustments.

Noregon JPRO Commercial Fleet Diagnostics 2019v2 Installation and Activation
https://www.youtube.com/watch?v=FRHEhJa4syI

Part 1. How to Install JPRO Professional software 2019 v2

JPRO-Professional-software-2019-v2-Registration-and-installation-1

1.Close all other running applications.
2.Insert the JPRO® USB Flash Drive into a USB port on your computer.
3.Open Windows/File Explorer and click on the USB drive.
4.Double click the “Setup” file to launch the installation window.
Internet connectivity is required for registration.

5.Click the “Install JPRO“ button. Follow the on-screen installation instructions.
6.When the installation has completed, close the Installation screen.
7.Install the DLA drivers by clicking the “Install DLA Drivers”
button.
8.Follow the on-screen instructions and the separate DLA QuickStart Guide to complete the installation.

Part 2. How to Resigter JPRO Professional software 2019 v2

1.JPRO Commercial Vehicle Diagnostics requires registration before the application may be used. Double-click the application’s icon located on the desktop. You will be prompted to register the product.
2.Click the “Edit” Button in the Customer Information section to add your contact information. You will be required to provide an email. It must be a valid email that you can access.
3.Enter all license keys that you purchased in the License Key designated area and click the “Add” button.
JPRO-Professional-software-2019-v2-Registration-and-installation-2

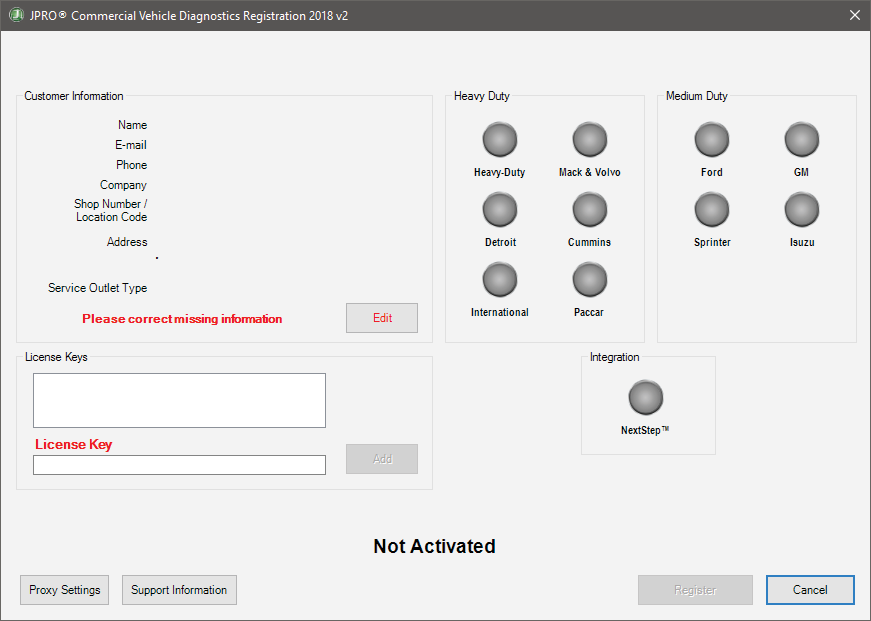
4.Click the “Register” button. The information will be sent to Noregon’s licensing servers over the internet. The licensing servers will send you an email with a confirmation code. You must provide the confirmation code when prompted in order to complete the activation process.
Internet connectivity is required for registration.
5.Once registration is successful, you may begin using Heavy Duty Truck diagnostic Scanner JPRO Professional.
6.Click “Help” then select “View User’s Guide” from the JPRO® Professional main toolbar for detailed information about application features. You can also access the User’s Guide by clicking “Connect” from the main menu then clicking the “How To” button from the Connect Window.

Comments

Popular posts from this blog

How to Solve VW Amarok Caddy 2018+ Remote Not Working After Programming

Here comes the general problem of VW Amarok Caddy etc. 2018+ UDS protocol vehicles: 2019 VW Caddy. I spent a few hours programming the Xhorse key using VVDI2 . Also tried TDB1000. Remote function could not be obtained. Every time the programming failed, the original remote stopped working until I scanned and cleared errors. I expected it to work when the transponder was added (Megamos AES). I can’t access remote learning with any of my tools, nor did vvdi2 let me program the remote. I was wondering if anyone could confirm remote learning with transponders or how to learn it if not. Solution: It is not possible for BH remote controls after 2018 at the latest. You will not get any communication with the central locking remote control customization. You need a dealer key 100% and then learn from ODIS. There is no after-market solution, VAG blocked the remote channel on UDS vehicles 2018+. Had the exact same issues with new caddies. So merchant key and Odis ATM since the c...

How to Install Mercedes Benz DTS Monaco 8.16 Software

  This instruction show you the guide on how to install Mercedes Benz DTS Monaco Software . Preparations: Benz DTS Monaco Software Free Download After finish downoading and extract you will get below files Double click DTS-Setup to start installation Then just click default option to continue Click Finish Copy files in the repalce folder to DTS Monaco installation folder replace C:\Program Files(x86)\Softing\Diagnostic Tool Set 8\8.16\bin Then run “DTS Monacon” icon on desktop,it will show you the HWID and ask you to activate Please sent me your HWID to me(sales@obd2tool.com),we will sent you a activate file and license file When you get the xxx.reg file,doulbe click it to register it to your pc,click yes to add it the registy Run DTS Monaco and select “Administrate and manage DTS projects’ Select “System”–>”Add license” Load the License_0000000000000.bin file i sent you before Now your DTS Monaco have activated successfully! DTS Monaco 8.03.12 Softw...

GM MDI2 Software Tech2win interface

  What is Tech2win? Tech2Win is a Tech2 emulator for GM diagnostics. It allows you to use your J2534 card like a Tech2 on GM vehicles. Tech2Win is an application version of the Tech 2 and CANdi (Control Area Network Diagnostic Interface) module that can be used during automotive road testing, providing a larger display with all functions of the tool GM Tech2 GM Scanner . Tech2Win App provides all Tech 2 features and functionality for Opel, Saab, etc. What can gm tech 2 pc software do? GM Tech 2: This is the GM factory scan tool used in all GM dealers since 1996. Tech 2 will give your shop ‘dealer level’ capabilities on all GM vehicles insured. Scan, pull codes, graph data and have all two-way controls available for all vehicle systems including Powertrain, Body, Chassis, and Network Tech2win Specialized Diagnostic Software. 2. Tech2Win software features: 1. Tech2Win is designed to be used for diagnostic functions (No programming function) 2. Service programming func...