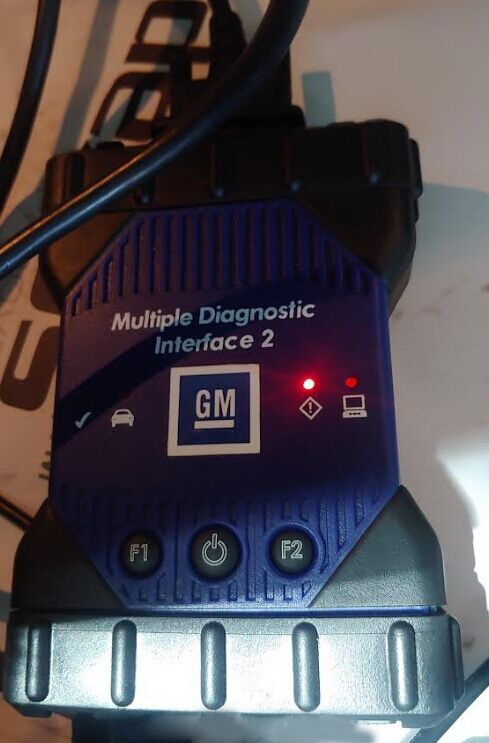
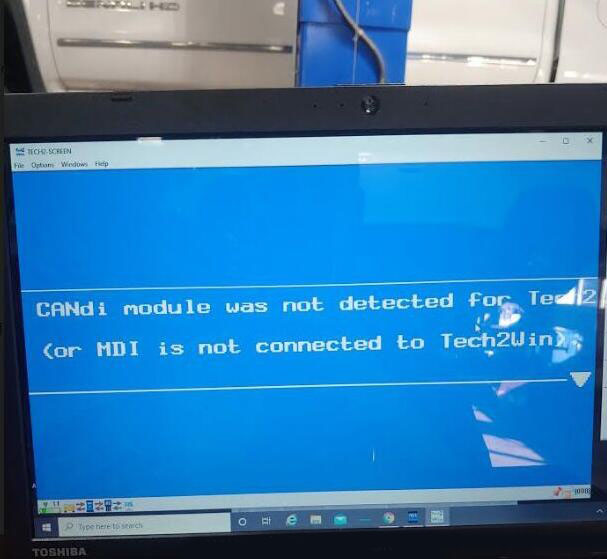
I’ve been struggling with this for months now and I came across a post of the Cadillac forum where someone mentioned using the GM Tech2 handheld scanner and running the “Evap service bay” test. First you will need the VCX Nano from obd2tool, it comes with the software for Tech2 and GDS2 emulators and install it on a laptop. The Evap test should be done from a cold start so have everything ready. The reason I failed the Tech2 EVAP test first time was you must keep RPM between 1800-2200 for 8 minutes it was impossible to do that with foot so it failed and i had to wait overnight for a cold start. What i did to fix was I found a piece of wood and placed it between the seat and gas pedal and move the electric seat until RPM is 2000. This worked perfectly I used this when doing brake light testing for inspection as well.
* Have everything set up, I opened hood so it wouldn’t get too hot,
connect the VCX Nano to the OBD2 port and your laptop and go to the F2:
Special Functions->F4: Service Bay Tests->EVAP System Bay Test
* Have your piece of wood ready so you can hold the RPM constant.
After the Tech 2 has read the info it needs and validates you can
proceed with the test, it will guide you step by step
* First, you’ll be told to leave the ignition key off for 10 seconds
* After that, you’ll turn on the key (but don’t start the car). Once
the Tech 2 has read the Data port, it will prompt you the EVAP test can
start (or NOT)
* start the car, idle between 1800-2200 rpm (steady!) this is where
you need the wood and move seat against it to push pedal down and hold
at 2000 RPM. This is very critical and if it cannot be held between 1800
and 2000 you will need to stop test and wait overnight for it to cool
off so you can do a cold start. Then press [Enter] to begin.
* Once you press [Enter], you need to maintain 1800-2200 RPM for about
6-8 minutes (it has a counter) and it will perform a series of EVAP
tests (11 data points are watched). You’ll hear the Solenoid working and
seeing the ‘%’
* After about 8 minutes @ 2000 RPM, you’ll be told to take it for a
drive. Disconnect the laptop power source, then press [Enter] to start
the drive test.
* The Tech 2 shows 15 KM and 600 seconds to do the drive — don’t worry about the seconds, the KMs are what’s important.
* After you’ve reached ‘0’s, you’ll be told to return to the ‘Service Bay’ for engine off EVAP Test
* Here you plug in the external power source for the laptop ‘BEFORE’
you turn off the car. Once that is done, turn off the car and press
[Enter] to start the engine off test. This test will take about 5 to 10
minutes (and yes, you’re in the car and waiting d). You see the Fuel
Tank voltage change and here the solenoid working.
* Once you’ve waited, the Tech 2 will show you your status whether it passed or failed
Overall it takes about an 45-60 min to do the Engine On, Drive, and Engine off EVAP Service Bay Test. I wish I knew about this iI spent dozens of hours researching and trying to drive the 17 step EVAP drive cycle many times requiring the overnight for cold start.
Checked the Ready Monitors with my regular scanner and Im ready for inspection!
The drive cycle takes FOREVER to get done, but this one is ready in about an hour and this does work! Well worth the $90 from Amazon and now I also have great Tech2 scanner and GDS emulator. Also with the GDS it appears it uses a cloud based database and looks like there is every manufacturer supported you would just need the license to turn it on. Very happy with the way this turned out and if anyone is stuck with trying to set EVAP this is the way to go!
Comments
Post a Comment