
SKODA OCTAVIA KM change with Digiprog 3 By OBDII


Here is the steps guide of  SKODA OCTAVIA 2001 mileage adjustment via obd2 with Digiprog iii v4.94 odometer correction tool,only in 3 minutes! Check the below steps to know how simple it is!

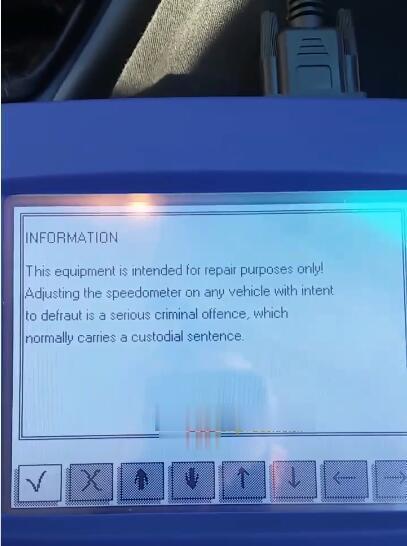
Step1. Connect Digiprog iii with OCTAVIA via OBD2-port. Power up Digiprog iii and you see notice information, Press ” √” to continue. Then enter password to open the main menu.

SKODA-OCTAVIA-KM-change-with-Digiprog-3-By-OBDII-2 (2)

SKODA-OCTAVIA-KM-change-with-Digiprog-3-By-OBDII-3 (2)

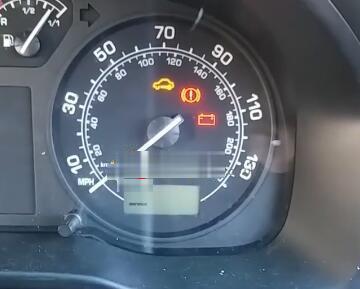
Turn car ignition on, The indicator light on dashboard will flash. Check the parameter (km) on the dashboard.the old odometer value is 118058.

SKODA-OCTAVIA-KM-change-with-Digiprog-3-By-OBDII-4 (2)

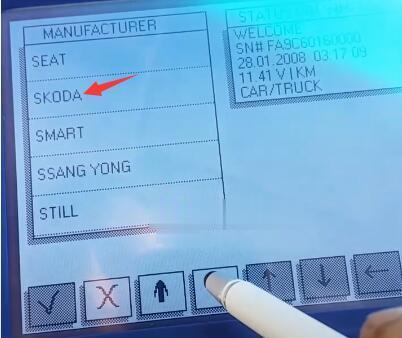
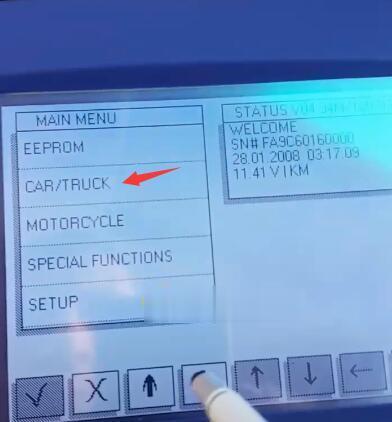
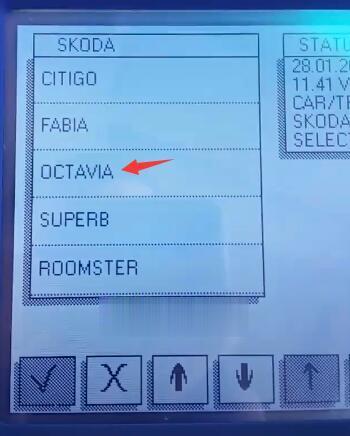
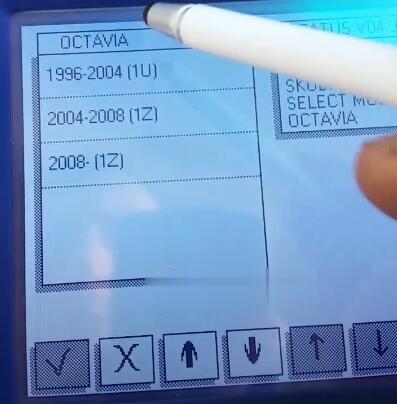
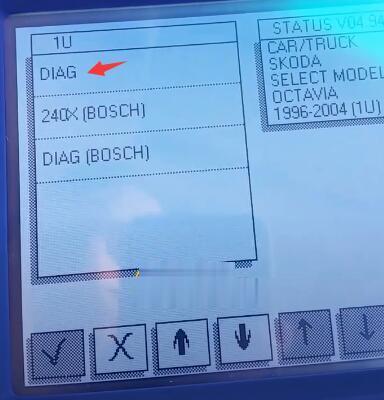
Step2.Select –>CAR/TRUCK–>SKODA–>OCTAVIA–>1996-2004(1U)–>DIAG

SKODA-OCTAVIA-KM-change-with-Digiprog-3-By-OBDII-5 (2)

SKODA-OCTAVIA-KM-change-with-Digiprog-3-By-OBDII-6 (2)

SKODA-OCTAVIA-KM-change-with-Digiprog-3-By-OBDII-7 (2)

SKODA-OCTAVIA-KM-change-with-Digiprog-3-By-OBDII-8 (2)

SKODA-OCTAVIA-KM-change-with-Digiprog-3-By-OBDII-9 (2)

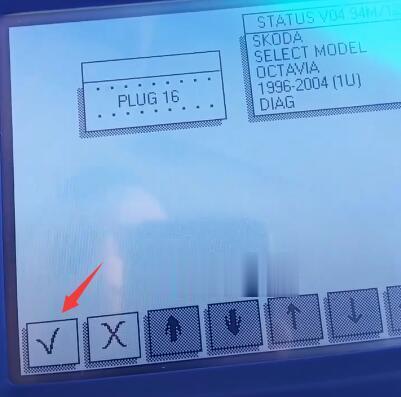
Step 3. Press ” √”  then it will  test automatically

SKODA-OCTAVIA-KM-change-with-Digiprog-3-By-OBDII-10 (2)

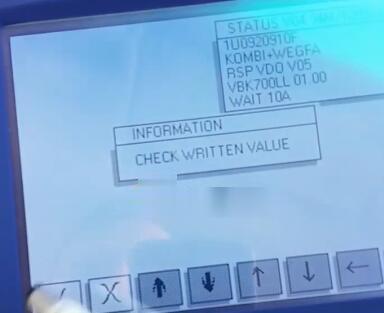
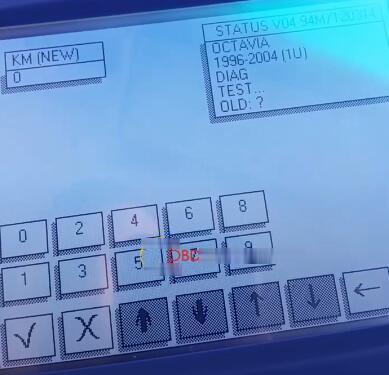
Step 4. Enter new odometer value as you like

SKODA-OCTAVIA-KM-change-with-Digiprog-3-By-OBDII-11 (2)

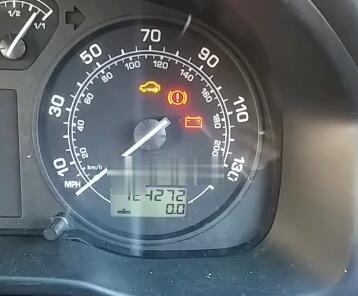
ChangeSKODA OCTAVIA 2001 mileage successfully by Odometer Correction Tool Digiprog 3 V4.94! Now new odometer value turns to 124272!

SKODA-OCTAVIA-KM-change-with-Digiprog-3-By-OBDII-12 (2)

SKODA-OCTAVIA-KM-change-with-Digiprog-3-By-OBDII-13 (2)

CusTomer FAQ:

Q : How can I Know where is my OBD2 port?

A: The On-Board Diagnostics II (OBD-II) port is used to access the vehicle’s computer for various tasks, such as emissions tests and diagnostics.
The OBD-II port is where the Hum System is installed so that the network can communicate with the vehicle directly.
After activation, the vehicle owner receives an alert email if the OBD reader has been plugged back in after being unplugged from the port.
For additional assistance in locating your particular model vehicle’s OBD port, consult the OBD locator.

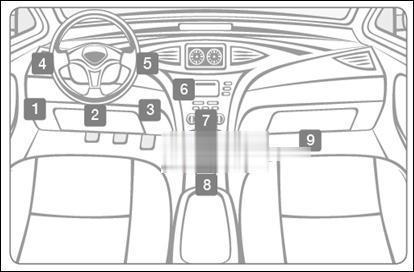
The OBD-II port is usually located under the dashboard, beneath the steering wheel column (1 – 3 in the diagram below).
Note If not located beneath the steering column, look for the port in the areas indicated by numbers 4 –

9. OBD2

In this cause,  the SKODA OCTAVIAOBD port is underneath the panel

SKODA-OCTAVIA-KM-change-with-Digiprog-3-By-OBDII-1 (2)


Comments

Popular posts from this blog

How to Solve VW Amarok Caddy 2018+ Remote Not Working After Programming

Here comes the general problem of VW Amarok Caddy etc. 2018+ UDS protocol vehicles: 2019 VW Caddy. I spent a few hours programming the Xhorse key using VVDI2 . Also tried TDB1000. Remote function could not be obtained. Every time the programming failed, the original remote stopped working until I scanned and cleared errors. I expected it to work when the transponder was added (Megamos AES). I can’t access remote learning with any of my tools, nor did vvdi2 let me program the remote. I was wondering if anyone could confirm remote learning with transponders or how to learn it if not. Solution: It is not possible for BH remote controls after 2018 at the latest. You will not get any communication with the central locking remote control customization. You need a dealer key 100% and then learn from ODIS. There is no after-market solution, VAG blocked the remote channel on UDS vehicles 2018+. Had the exact same issues with new caddies. So merchant key and Odis ATM since the c...

John Deere Service Advisor 4.2 CF – Construction & Forestry incl. Hitachi + History DVD 2016

John Deere Service Advisor  4.2 CF – Construction & Forestry incl. Hitachi 2/2016 contains detailed information on all the procedures for repair and maintenance, a lot of illustrations, wiring diagrams, electrical and hydraulic circuits for construction and forestry equipment John Deere. Service Advisor contains information about setting up data, troubleshooting procedures, symptoms of malfunctions, the order of disassembly and assembly, adjustment data, torque. Electronic program is designed to handle all maintenance issues, eliminate breakdowns and malfunctions. Installation of this software is very easy and doesn’t require additional knowledge. The program allows you to quickly and easily find information and solve problems with machinery John Deere. This service advisor is designed to work with Windows XP, 7, 8. This software works under Windows 10 but wasn’t tested with EDL adapter and drivers. This version of Service Advisor has built-in hot...

How to Install Mercedes Benz DTS Monaco 8.16 Software

  This instruction show you the guide on how to install Mercedes Benz DTS Monaco Software . Preparations: Benz DTS Monaco Software Free Download After finish downoading and extract you will get below files Double click DTS-Setup to start installation Then just click default option to continue Click Finish Copy files in the repalce folder to DTS Monaco installation folder replace C:\Program Files(x86)\Softing\Diagnostic Tool Set 8\8.16\bin Then run “DTS Monacon” icon on desktop,it will show you the HWID and ask you to activate Please sent me your HWID to me(sales@obd2tool.com),we will sent you a activate file and license file When you get the xxx.reg file,doulbe click it to register it to your pc,click yes to add it the registy Run DTS Monaco and select “Administrate and manage DTS projects’ Select “System”–>”Add license” Load the License_0000000000000.bin file i sent you before Now your DTS Monaco have activated successfully! DTS Monaco 8.03.12 Softw...